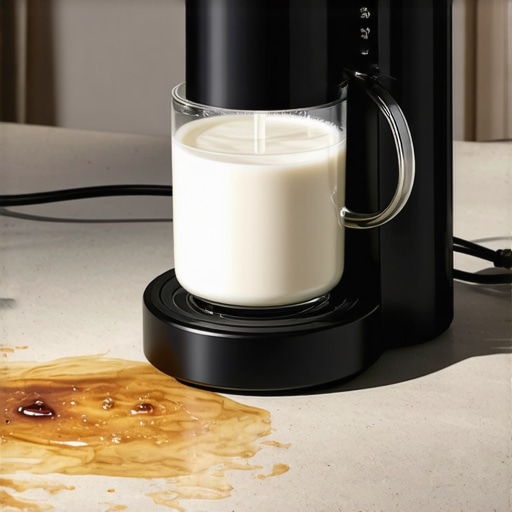
It was one of those mornings—I was eager for that perfect cup of pistachio latte, mind you. But as I pressed the button on my frother, a wave of disappointment washed over me. Instead of creamy, velvety foam, I got a scorched, half-burnt smell. My heart sank. All my hopes of a cozy, barista-style drink vanished in an instant. After discovering my milk had scorched once or twice, I realized I wasn’t alone. Many of us struggle with this seemingly simple task—getting almond, oat, or pistachio milk to froth just right without that dreadful burnt aroma. This frustration had me digging deep into what causes scorching and how to prevent it, especially with the increasing popularity of plant-based milks that tend to temper the limits of traditional frothers.
Why the Right Frother Is a Game-Changer for Nut Milks
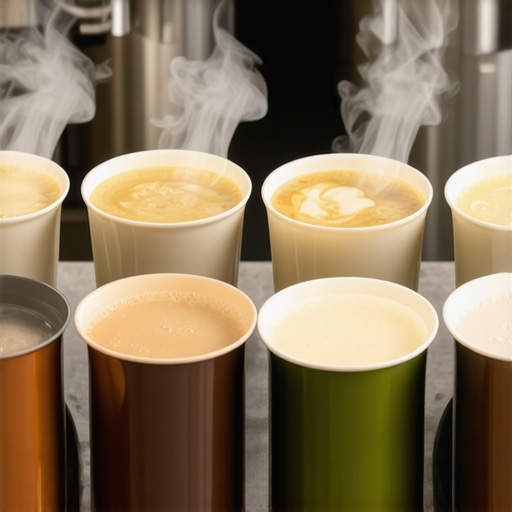
Imagine waking up excited to enjoy a homemade pistachio latte, only to be greeted by a disappointing, burnt flavor. That’s exactly how I felt before I understood the importance of choosing a quality frother tailored for plant-based milks. The right tool can make all the difference—delivering silky foam without scorching or burning. Over the years, I’ve tested several models, aiming to find that sweet spot where nut milks froth beautifully, stay warm, and retain their natural flavor. Today, I’ll share my insights on four top frothers for 2026, helping you avoid the common pitfalls that ruin your favorite drinks.
Are You Wasting Your Money on Overhyped Frothers?
One of my early mistakes was buying a popular, flashy frother that promised barista-quality foam. However, I soon learned that many of these devices aren’t built to handle the unique needs of nut milks—they often scorch or produce inconsistent results. It took trial, error, and some burnt milk to finally understand what separates a good frother from a mediocre one. Plus, it’s worth noting that not all frothers are created equal; some are optimized for dairy, leaving plant-based lovers like us in the dust. Trust me, choosing the right equipment involves more than reading reviews—it’s about understanding the technology and how it interacts with different types of milk. For more details on elevating your foam game, I recommend checking out [this guide on mastering automatic milk frothers](https://superautomatic.espressotechguide.com/mastering-automatic-milk-frothers-tips-for-barista-quality-froth). Without a doubt, getting this right transforms your morning routine into a delightful ritual instead of a frustrating chore.
Perfect Your Bean Grind for Richer Espresso
Start with precision: set your espresso grinder to a medium-fine grind. I once thought coarser was better, but I experienced bland shots. During my morning grind adjustment, I kept tasting and adjusting until I found the sweet spot that produced a thick, aromatic crema. Remember, inconsistent grind size leads to uneven extraction, causing watery or sour coffee. Regularly clean and calibrate your grinder—learn how to do this efficiently by visiting https://superautomatic.espressotechguide.com/stop-watery-bean-to-cup-espresso-3-grinder-tweaks-for-2026—to maintain optimal performance.
Align Your Grinder Burrs for Consistency
Imbalanced burrs can manifest as uneven grind size. To check, remove and inspect your burrs for wear or misalignment. Use a calibration routine: adjust in small increments and test a shot each time. Proper alignment ensures uniform particle size, leading to consistent extraction every time. This small tweak made a noticeable difference in shot quality, cutting down on waste and cleaning time.
Optimize Your Bean-to-Cup Machine Settings
Many users forget to fine-tune their machine settings for different beans. For darker roasts, increase extraction time slightly; for light roasts, reduce it. I experimented with different temp and pressure settings, which drastically improved flavor clarity. Read https://superautomatic.espressotechguide.com/3-bean-to-cup-settings-for-a-thicker-espresso-crema-in-2026 to learn how properly adjusting these parameters can bolster crema thickness and flavor depth.
Calibrate Your Water Temperature for Better Flavor
Water temperature affects extraction and taste. Too hot, and flavors turn bitter; too cold, and they become sour or weak. Use your machine’s calibration tools to find that ideal range—around 90–96°C. I dedicated a morning to testing various temperatures, marking my preferred setting for each bean type. This small effort yields a more balanced, fragrant shot and prevents the common issue of sour or burnt espresso.
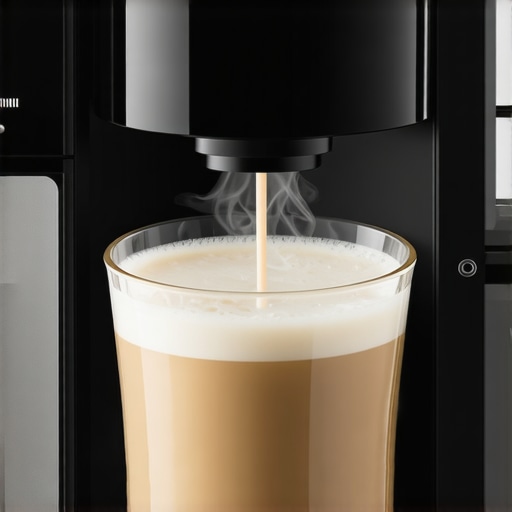
Tame Your Automatic Milk Frother for Creamy Foam
Consistent foam hinges on proper technique and machine settings. First, ensure your milk reaches the optimal temperature—around 60–65°C—by pre-chilling or adjusting the frother’s temperature control. Then, choose the correct frothing mode; many super automatics have adjustable settings (see https://superautomatic.espressotechguide.com/4-automatic-milk-frother-hacks-for-silkier-almond-foam-2026). During my test, I once used the high-pressure setting for oat milk, which caused flat foam; switching to a lower pressure led to silky, thick microfoam. Remember to purge the steam wand or frother before use—the residual milk can clog and spoil your foam quality. Practicing this routine ensures your latte art remains impeccable and your milk stays smooth.Many enthusiasts think mastering their espresso setup is just about selecting fancy gear, but lurking beneath common beliefs are nuanced pitfalls that can sabotage your perfect brew. For example, a widespread misconception is that a costly machine guarantees barista-quality espresso. In reality, even high-end super automatics need meticulous maintenance and proper settings—just tossing your machine into a corner won’t cut it. According to coffee expert James Hoffmann, equipment alone doesn’t craft great coffee; technique and understanding do.
Are All Automatic Milk Frothers Actually User-Friendly?
Many assume automatic milk frothers simplify latte art, but the truth is, some models misbehave with alternative milks like oat or soy, producing flat or inconsistent foam. The Maintaining your espresso setup is crucial for consistent quality and longevity. Investing in the right tools can simplify upkeep and ensure your machine, grinder, and frother perform at their best over the years. I personally rely on a few specific items that have proven indispensable in my routine, starting with a high-quality descaling solution like Urnex Dezcal, which I use every three months to prevent mineral buildup in my bean-to-cup machine. Regular descaling not only preserves flavor but also extends the lifespan of internal components, making it a worthy investment. For cleaning grinder burrs, I use a burr cleaning brush designed to reach into every crevice, preventing residue buildup that can cause uneven grinding and stale-tasting coffee. A dedicated vacuum tool helps remove fine grounds from the machine’s internal chambers without disassembly. These maintenance tools, combined with a schedule—guided by insights from experts like those at https://superautomatic.espressotechguide.com/5-bean-to-cup-maintenance-mistakes-ruining-your-brew—can dramatically improve your equipment’s durability.
Beyond basic cleaning, tuning your grinder for long-term results involves slightly adjusting your grind size over time based on taste and shot quality, especially as beans age. Using a calibration weight to measure consistency ensures your settings stay within optimal ranges. For my espresso machine, I’ve found that installing a water filter advances not only flavor clarity but also reduces scale formation, making descaling less frequent. Service and calibration routines should be scheduled more frequently if you use hard water or notice signs of pressure fluctuation.
Looking ahead, advancements in smart maintenance systems could further revolutionize home espresso care. Imagine a machine that alerts you when parts need cleaning or descaling—these innovations are on the horizon, predicted to make equipment maintenance more intuitive and proactive.
So, if you haven’t already, try incorporating a precision burr brush and a weekly cleaning routine for your grinder as a simple starting point. Not only will this improve flavor consistency, but it also protects your investment for years to come. Remember, the key to long-lasting espresso equipment is regular upkeep guided by informed practices—your future self will thank you for it.
The Hardest Lesson I Learned About bean to cup,automatic milk frother,espresso grinder,espresso machine,super automatic espresso
One of my most eye-opening experiences was realizing that even the most advanced equipment won’t compensate for a lack of attention to detail. I used to believe that buying a top-tier super automatic espresso machine would instantly transform my mornings, but I soon discovered that regular calibration and cleaning are essential. This lightbulb moment taught me that tech is only part of the equation—your routine and knowledge are equally vital for consistent, delicious coffee.
Understanding the nuances of grinder calibration and milk frother settings elevated my coffee game more than any upgrade. The breakthrough came when I personalized my machine’s parameters based on bean origin and type of milk. It’s a testament to how small, informed adjustments can make a world of difference, turning a good cup into a great one.
So, my biggest takeaway is: don’t settle for generic settings or neglect maintenance. Dive deep into the capabilities of your equipment—your taste buds and mornings will thank you. For an in-depth look at maximizing your super automatic, check out these tested super automatics and learn how proper settings boost flavor and crema.
![5 Automatic Milk Frothers That Won't Curdle Hemp Milk [2026]](https://superautomatic.espressotechguide.com/wp-content/uploads/2026/03/5-Automatic-Milk-Frothers-That-Wont-Curdle-Hemp-Milk-2026.jpeg)