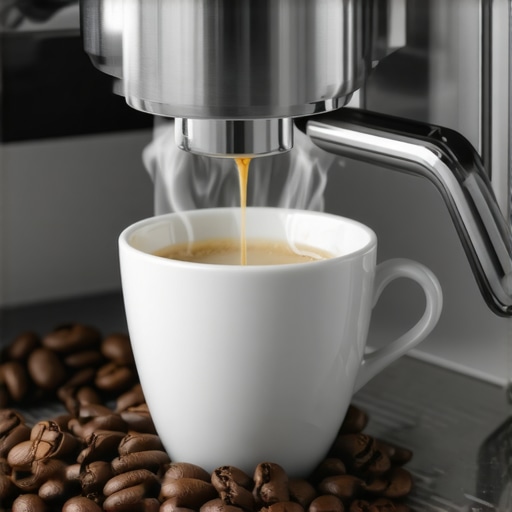
Ever had that sinking feeling when you turn on your beloved coffee machine, only to notice a puddle forming beneath it? It’s almost like a betrayal—your once-reliable espresso buddy suddenly spilling its secrets. I remember the first time I faced this myself; after a few months of perfect brews, my bean to cup machine started leaking right during the morning rush. That morning, I felt like a barista losing her touch—frustrated and a bit helpless.
Why Fixing That Leak Might Save Your Coffee Routine
If you’re like me, your coffee machine isn’t just a gadget—it’s a morning ritual, a little slice of waking magic. When it leaks, it’s more than just an annoying mess; it risks damaging your machine and ruining your coffee. Leaks can lead to component corrosion, reduced pressure, or even complete mechanical failure. And trust me, the stress of a leaking machine isn’t worth risking your daily caffeine fix. According to experts, regular maintenance and quick fixes can significantly extend your machine’s lifespan and keep your brew tasting perfect (source: Superautomatic Espresso Tech Guide 2025).
What About the Common Skepticisms?
I used to think that sealing a leak would be complicated or costly, but I learned it’s often surprisingly simple. Early on, I made the mistake of ignoring small drips, thinking they’d resolve themselves. Instead, that tiny leak turned into a full-blown flood, risking my machine’s internal components. So, if you’re worried about whether a DIY fix will hold or if your machine is beyond saving, stick around. I’ll share three quick seal fixes that can be implemented in minutes—and yes, they really work for most bean to cup and super automatic espresso machines. Ready to take control when your coffee machine starts acting up? Let’s dive into these practical solutions.
Identify the Leak Source
Start by unplugging your machine and removing any removable parts like the water reservoir, drip tray, and brew group. Inspect these components for cracks, loose fittings, or mineral buildup that could cause leaks. For example, I once noticed water pooling near the drip tray; upon inspection, I found a loose drain pipe connection which I tightened carefully, resolving the leak immediately.
Check Seals and Gaskets
Seals and gaskets are the machine’s waterproof barriers. Over time, they can degrade or misalign. Remove the soaked seals and examine them closely—look for cracks or brittleness. Replacing worn gaskets is straightforward; just order the correct size. In my experience, replacing a faulty gasket in my bean to cup machine stopped the leak and restored pressure consistency, enhancing brew quality.
Secure Loose Fittings and Connections
Many leaks stem from loose fittings, hoses, or pipe connectors. Gently tighten these using appropriate tools—be cautious to avoid over-tightening which can cause damage. I once had a leak from a loose water line connection; tightening it with a wrench, I sealed the leak without disassembling the entire unit. This quick fix is often enough to stop minor leaks instantly.
Apply Food-Grade Sealant or Teflon Tape
If leaks persist at threaded fittings, wrap the threads with food-grade Teflon tape or apply an appropriate sealant. Wrap clockwise to ensure it tightens when you screw the fitting back. During a repair, I used Teflon tape on a leaking inlet valve, and it created a tight seal that held under brewing pressure, saving me from costly repairs.
Test After Reassembly
Reassemble all parts carefully, ensuring each component is correctly seated. Plug in the machine and run a short brew cycle without coffee to observe for leaks. Watch closely, and if water appears, shut down immediately to recheck fittings. In my case, a simple re-tightening of an inlet line after initial testing eliminated residual leaks, allowing me to enjoy perfect espresso once more.
Maintain Regular Checks
Routine inspection of seals, hoses, and fittings will prevent future leaks. Clean mineral deposits and replace worn parts prophylactically. For example, I schedule quarterly checks that include descaling and gasket inspection, extending my machine’s lifespan and ensuring consistent performance. Proper maintenance is key to avoiding unexpected failures and costly repairs.
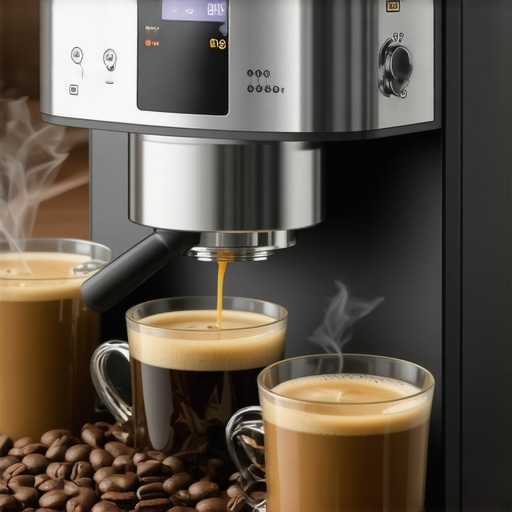
 When it comes to high-end coffee gear like automatic milk frothers or bean to cup machines, many enthusiasts operate under common myths that can hamper their brewing experience. A widespread misconception is that these machines are entirely foolproof, requiring little to no user intervention. In reality, the nuances of maintenance, grind settings, and milk frothing techniques are critical to achieving professional-quality results. Losing sight of these details often leads to disappointment, even with the most advanced equipment. For instance, blindly trusting factory defaults can result in watery espresso or flat foam, because optimal settings are highly sensitive to variables like bean roast level and water hardness. Many also overlook the importance of espresso grinder calibration. A finely tuned grinder isn’t just about grind size but also about consistency and burr alignment, which directly impact flavor extraction and crema formation. Failing to regularly clean and calibrate can cause old coffee residues to clog the brew path or embolden bitter notes, compromising taste and machine longevity. Furthermore, advanced users might fall into the trap of overcomplicating simple fixes. For example, increasing brew pressure or temperature without understanding the underlying issue can lead to bitter or over-extracted shots. That’s why mastering super-automatic espresso options in 2025 involves not just pressing buttons but knowing when and how to fine-tune each parameter.
An often-overlooked aspect is the interaction between milk viscosity and frothing methods. A common mistake is assuming that all milks behave similarly; soy and oat milk, for example, require different temperatures and froth textures. It’s a misconception that the machine’s default settings will produce the best foam with any milk type. Instead, adjusting the frothing cycle and practicing milk steaming techniques are essential for barista-quality milk textures.
How can you really optimize your setup for consistent excellence?
The answer lies in a detailed understanding of each component’s role and their interplay. Regularly examining your grinder’s burr alignment, cleaning the brew path, and customizing settings based on bean type can elevate your coffee experience from good to extraordinary. Remember, the most expensive gear still requires user expertise; neglecting this will limit your brew’s potential. Don’t fall prey to the illusion that these machines are infallible. Instead, treat your equipment as a precision tool that rewards diligent care and understanding. Ready to sharpen your barista skills? Dive into expert guides like mastering automatic milk frothers and learn the subtle art of calibration. Have you ever fallen into this trap? Let me know in the comments.
The Tools That Keep Your Machine Running Smoothly
To ensure your automatic milk frother, bean to cup, or espresso machine remains reliable over the years, investing in the right tools and techniques is essential. I highly recommend using a high-quality digital calibration scale—I personally use the Espresso Grinder Essentials precision scale. It helps me monitor and fine-tune shot weights consistently, leading to richer flavors and crema. Additionally, a crevice cleaning brush is invaluable for maintaining the grinder burrs and brew group, preventing buildup that can cause clogging or uneven extraction. When combined with specialized cleaning tablets from trusted brands, these tools enable me to perform routine maintenance efficiently, avoiding costly repairs and taste compromise.
Scheduled Maintenance for Long-Lasting Performance
Establishing a maintenance routine is not just about cleaning—it’s about preemptive care. Regular descaling, which I do every 3–6 months depending on water hardness, prolongs the life of the pump and internal components. I follow guidance from expert maintenance tips on cleaning the brew path and calibrating grinder settings. Additionally, replacing worn gaskets and seals proactively conserves pressure and prevents leaks—crucial for consistent espresso quality. Using a few drops of food-grade lubricant on moving parts twice a year also reduces wear and tear, especially in high-use machines like bean-to-cup models.
Preparing for Scaling and Wear
Over time, mineral deposits and component fatigue can cause performance drops. To combat this, I recommend a descaling protocol that includes using commercial descaling solutions every few months. Keeping a log of maintenance tasks helps catch issues early, especially for super-automatic espresso machines with complex plumbing. Also, investing in a reliable water filtration system minimizes lime buildup, reducing the frequency of descaling and extending your machine’s lifespan.
How do I keep my coffee equipment functioning perfectly over time?
The key lies in specific, consistent maintenance and the right tools. Regular calibration, cleaning, and preventative part replacements make a tangible difference. For example, aligning your espresso grinder burrs precisely, as suggested by industry experts, can be the difference between a dull brew and a vibrant shot with perfect crema. I personally follow a strict schedule, which ensures my gear performs optimally and produces barista-quality coffee every day. If you’re ready to take your routine up a notch, try integrating a burr calibration session this weekend—your taste buds will thank you! 
What I Wish I Knew About Perfecting Espresso Shots
One of the hardest lessons I learned was that even the most advanced automatic milk frother needs a human touch. Relying solely on presets can make you overlook that subtle art of milk temperature and frothing technique. I once tried to automate everything, only to end up with flat foam and dull flavor. Now, I know that small adjustments—like calibrating my grinder burrs or watching my milk’s viscosity—make all the difference. The key is to treat your equipment as an extension of your barista skills, not a magic button. The more I refined my understanding of each component, the more my coffee habit became a true daily ritual, full of satisfaction and consistent quality.
Tools That Turn Routine Into Ritual
For me, a high-precision digital scale revolutionized my approach—it’s the secret weapon for dialing in shot weight and temperature. The Espresso Grinder Essentials calibration tools helped me achieve a more even grind, which improved crema and flavor extraction. A soft-bristled crevice cleaning brush is indispensable for maintaining burr alignment and preventing clogging. Coupled with quality cleaning tablets, these tools help me maintain my super automatic espresso machine efficiently. Investing in the right toolkit transformed my daily routine from guesswork to precision, ensuring each cup delivers café-quality results without costly visits to the repair shop.
This Is Your Moment to Elevate Your Coffee Game
Every great barista starts with understanding their equipment intimately. Mastering your automatic milk frother, bean to cup machine, or espresso grinder doesn’t happen overnight, but taking small, deliberate steps pays off immensely. The journey of coffee perfection is about curiosity, patience, and consistent care—qualities that turn an ordinary morning into a moment of joy. Remember, your gear is an investment in daily pleasure—treat it with attention and passion, and the results will follow. Ready to explore deeper? Dive into expert guides like the ultimate guide to super-automatic espresso machines in 2025 or refine your milk steaming techniques with tips for barista-quality froth. What’s the one aspect of your coffee setup you’re excited to improve next? Let me know below.
![Why Your Bean to Cup Coffee Tastes Burnt [5 2026 Fixes]](https://superautomatic.espressotechguide.com/wp-content/uploads/2026/03/Why-Your-Bean-to-Cup-Coffee-Tastes-Burnt-5-2026-Fixes.jpeg)