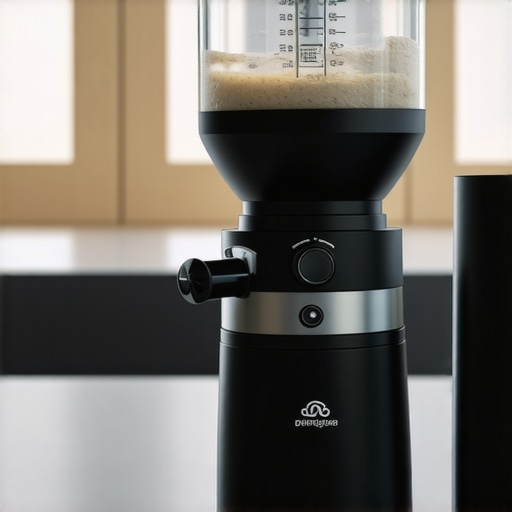
Imagine grinding fresh beans early in the morning, anticipation building for that perfect shot of espresso. Suddenly, the grinder jerks or rattles loudly, jolting your brewing ritual and making you wonder if you’ve just broken something important. I’ve been there—frustrated, puzzled, and honestly a bit worried about what that strange vibrating noise could mean for my beloved machine. That lightbulb moment hit me hard: I wasn’t alone in this struggle. Many espresso enthusiasts face the same issue, and it often points to a simple fix rather than a costly repair.
Why Your Grinder Vibrates and Why It Matters
Vibrations might seem like a trivial annoyance, but they can signify underlying problems that, if left unaddressed, impact your coffee’s flavor, the longevity of your equipment, and the joy of your morning routine. A vibrating grinder can lead to inconsistent particle sizes, resulting in bitterness or weak espresso. Plus, persistent shaking often indicates mechanical misalignments or buildup that could cause long-term damage. As I learned early on, neglecting these vibrations can transform routine maintenance into expensive repairs. According to a recent expert review, improper grinder calibration or oily beans are common culprits behind excessive noise and vibration in espresso setups (see [SuperAutomatic Espresso Guide](https://superautomatic.espressotechguide.com/why-your-espresso-grinder-retains-2g-of-old-beans-2026-fix)).
Have you ever experienced a grinding session that sounded more like a drilling operation than a smooth, consistent process? If so, you’re not alone—and you’re in the right place to fix it.
What I Learned From My Early Mistake
When I first encountered this problem, my initial reaction was to assume I needed a whole new grinder. Spoiler: it was just a simple calibration issue. A mistake many beginners make (myself included) is overlooking basic adjustments that can dramatically reduce vibrations. Before rushing for a replacement, I decided to explore the root causes, which led me to some effective DIY solutions—and the results, a smoother grind and better espresso. Ready to find out how? Let’s get into it.
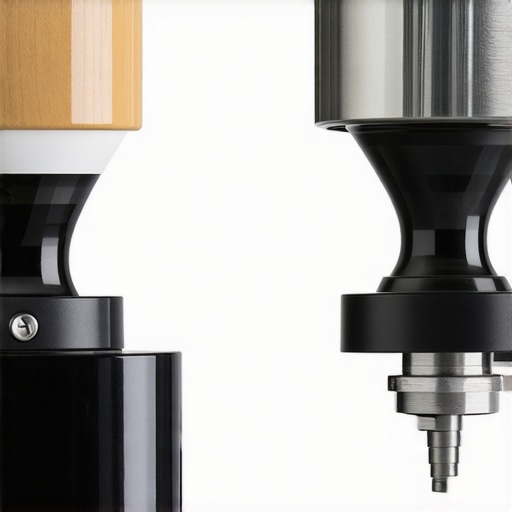
Check the Grinder Burrs for Misalignment
Remove the hopper and burrs using your grinder’s manual. Examine if the burrs are seated correctly; misaligned burrs cause uneven grinding and vibrations. Use a calibration tool or follow your machine’s specific alignment procedure, which you can find in the espresso grinder essentials. I once accidentally loosened mine during cleaning, leading to loud rattling—after realignment, the noise vanished and grind consistency improved instantly.
Ensure the Burrs Are Clean and Free of Coffee Oils
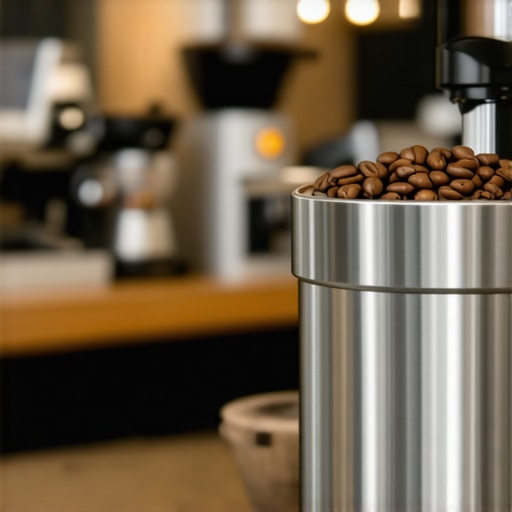
Accumulated oils and fines clog the burrs, leading to uneven grinding. Disassemble and scrub the burrs with a brush and dry cloth, avoiding water that can cause rust. Regular cleaning prevents buildup, maintaining smooth operation. I learned this the hard way after a week of neglect, which caused my grinder to vibrate so badly I thought it was about to break. Deep cleaning restored quiet and precision. For best results, consider descaling your grinder periodically—similar to how descaling your bean to cup machines helps keep internal components performing optimally. Ensure you’re using the right type of beans; oily beans are notorious for causing clogs and noise. Check the list of beans to avoid that might affect your grinder’s performance.
Calibrate the Grinder for Consistent Results
Many super automatic espresso machines and grinders require calibration to deliver the right grind size, which affects both flavor and vibration. Follow your machine’s manual or visit calibration guides. I adjusted mine by dialing the grind setting coarser; initially, it caused more vibrations, but fine-tuning improved stability and extraction quality. Calibration not only minimizes noise but also boosts flavor by ensuring uniform particle size.Use calibration tools like a coin or screwdriver if recommended by your machine. After each adjustment, run a trial grind to see if vibrations diminish. Remember, every machine reacts differently; patience is key. If unsure, consulting tech guides or expert reviews on super automatic espresso can offer additional insights.
Inspect Mechanical Components for Wear or Damage
Worn bearings, loose screws, or damaged gearboxes can cause vibrations. Tighten all accessible screws and nuts, especially on the hopper mount and motor housing. Look for signs of wear or metal fatigue—replace parts as needed to restore smooth operation. I once noticed a loose screw causing a persistent rattle; tightening it stopped the vibrations immediately.Consult your machine’s service manual or professional technician if you suspect internal damage. Replacing worn bearings or faulty motor mounts often solves persistent vibration issues and extends your grinder’s lifespan. For detailed repair procedures, websites like professional repair tips are invaluable.By systematically addressing these core areas—alignment, cleaning, calibration, and mechanical checks—you can significantly reduce or eliminate vibrations, ensuring a more consistent grind and better espresso extraction.While many coffee enthusiasts believe that choosing a high-end espresso machine guarantees perfect results, the real secret lies in understanding the nuances of automated systems. A common myth is that super automatic espresso machines operate flawlessly without any user intervention—this couldn’t be further from the truth. Even the most advanced models require knowledgeable maintenance and calibration to perform at their best. For instance, over-reliance on automatic milk frothers without proper cleaning can result in milk residue build-up, drastically affecting froth quality. Additionally, many assume that bean-to-cup machines handle beans perfectly, but without selecting the right beans or maintaining grinder settings, your coffee can taste flat or sour.
A frequent mistake is believing that all espresso grinders are created equal. This assumption overlooks critical differences in burr quality, grind consistency, and maintenance routines. Skimping on grinder calibration or ignoring signs of burr wear can lead to uneven extraction and bitter flavors. Furthermore, some users think that regular cleaning alone suffices, neglecting the importance of descaling and internal component checks—over time, mineral build-up and worn parts can cause blockages and inconsistent pressure, undermining your brew quality. According to expert insights, understanding these details can elevate your coffee experience from average to barista-level.
If you’re aiming to optimize your setup, consider the sophisticated adjustments often overlooked by casual users. For example, fine-tuning grinder particle size and ensuring proper tamping pressure can significantly enhance crema richness. Have you ever fallen into this trap? Let me know in the comments.
Are automatic features truly foolproof for the discerning coffee lover?
Many believe that automation simply replaces skill—yet, real mastery involves knowing when and how to intervene. Studies show that routine calibration and maintenance extend the lifespan of internal components, preventing costly repairs ([see SuperAutomatic Espresso Guide](https://superautomatic.espressotechguide.com/is-a-super-automatic-espresso-machine-worth-it-expert-insights)). Recognizing the limitations of these machines ensures you can troubleshoot issues before they escalate, rather than relying solely on presets.
In essence, understanding the hidden intricacies, like the impact of bean quality, grinder alignment, and routine upkeep, transforms a good espresso into an exceptional one. It’s about mastering the machines’ potential while avoiding the traps of complacency. Remember, even the most advanced gear needs your expert touch. So, are you ready to go beyond the basics and refine your coffee craft? Explore more detailed guides to fine-tune your passion and achieve barista-quality results at home.Maintaining your espresso setup over time requires more than just routine cleaning; it demands the right tools and a strategic approach to ensure longevity and optimal performance. Investing in quality equipment can seem daunting at first, but I’ve found that choosing specific, purpose-built tools makes a significant difference in keeping everything functioning smoothly. For instance, a calibrated burr grinder isn’t just a luxury—it’s a necessity to maintain consistent grind size, which directly impacts flavor and machine health.
Why a Precision Calibration Kit Matters
Personally, I rely on a calibrated calibration kit that includes a coin or a dedicated grinder calibration tool, like the calibration guides. This helps me fine-tune my grinder settings to prevent uneven particle sizes, which can cause channeling or overextraction. Regular calibration reduces mechanical strain on the grinder motor and mitigates vibrations, preserving the machine’s lifespan.
Advanced Cleaning Tools for Precision Maintenance
Using specific cleaning brushes designed for espresso grinders and machine components has revolutionized my upkeep routine. A dedicated burr brush with stiff bristles helps remove coffee grounds and oils from hard-to-reach crevices, preventing buildup that leads to clogging or inconsistent extraction. I’ve noticed that meticulous cleaning with these tools keeps my machine whisper-quiet and operating at peak efficiency. Don’t underestimate the impact of wiping down machine seals and group heads with soft cloths to prevent lime scale or mold build-up—these issues can degrade taste and damage internal parts over time.
For descaling, I prefer using specialized descaling solutions compatible with my machine, as they eliminate mineral deposits without damaging internal components. Combining mechanical tools with chemical maintenance routines means my espresso continues to taste fresh and the machine remains reliable for years to come.
Routine Mechanical Checks Save Future Hassle
Simple tools like a torque wrench help ensure screws and bolts are tightened to manufacturer specifications, which prevents mechanical vibrations and possible damage. Regularly inspecting the hopper for misalignments or worn bearings—using a straightforward flashlight and magnifying glass—can flag small issues before they turn into costly repairs. Expert insights recommend creating a maintenance schedule that balances cleaning, calibration, and mechanical checks, keeping your equipment in top shape. You can find detailed procedures in comprehensive grinder guides.
Prediction suggests that in the future, smart maintenance tools integrated with machine diagnostics will further empower users to perform proactive upkeep, reducing downtime and extending the life of high-end espresso gear. Already, some models feature sensors that notify you when descaling or replacement parts are needed—making maintenance almost effortless. Until then, investing in precise, high-quality tools and adopting a disciplined routine remains the best course of action.
So, I challenge you to try one of these advanced tips: pick up a dedicated calibration tool or mechanical gauge and start checking your machine’s tightness and alignment. It’s a small step that can yield big results, transforming your espresso routine into a reliable, long-lasting experience. Want to dive deeper? Visit contact for expert advice tailored to your equipment.
What I Wish I Could Tell My Past Self About Espresso Troubles
One of my toughest lessons was realizing that not all strange noises mean I needed a new machine. Often, a simple realignment or cleaning could restore harmony to my espresso routine. I learned that patience and a curious mindset prevent costly mistakes and deepen my understanding of my equipment.
I discovered that trusting expert resources and being proactive with maintenance saves time and money. For instance, diving into detailed calibration guides or investing in quality tools transformed my brewing experience from frustrating to fulfilling.
Finally, minding the subtler signs—like slight misalignments or oil buildup—can extend the lifespan of my beloved espresso gear. These tiny insights built my confidence and turned me into a more attentive, skilled home barista.
My Top Picks for Elevated Espresso Mastery
- Espresso Grinder Calibration Tools: Investing in a dedicated calibration kit helped me achieve consistent particle size and suppress vibrations—crucial for rich flavor. I trust this calibration guide for precise adjustments.
- Cleaning with Purpose-built Brushes: Mechanical brushes tailored for burrs and internal components make cleaning efficient and thorough. Regular use prevents oil buildup that causes clogging and noise issues.
- Mechanical Inspection Tools: A simple torque wrench or magnifying glass allows me to inspect and tighten screws, catching wear early. Following systematic maintenance routines has significantly reduced vibrational problems.
- Quality Descaling Solutions: Using trusted descaling products maintains internal health, especially when using mineral-rich water. It’s a small investment for long-term performance.
Your Journey to Perfect Espresso Begins Now
Remember, mastering your espresso machine, automatic milk frother, or grinder isn’t about perfection—it’s about continual learning and care. Every tweak and regular checkup brings you closer to barista-quality results at home. Don’t let vibrations or misalignments hold you back—embrace the process, and your coffee will thank you.
What routine maintenance step have you been neglecting that might be causing vibrations in your setup? Share your experiences below—I’d love to hear your story!
![Why Your 2026 Espresso Grinder Burrs Trap Fine Dust [3 Fixes]](https://superautomatic.espressotechguide.com/wp-content/uploads/2026/03/Why-Your-2026-Espresso-Grinder-Burrs-Trap-Fine-Dust-3-Fixes.jpeg)