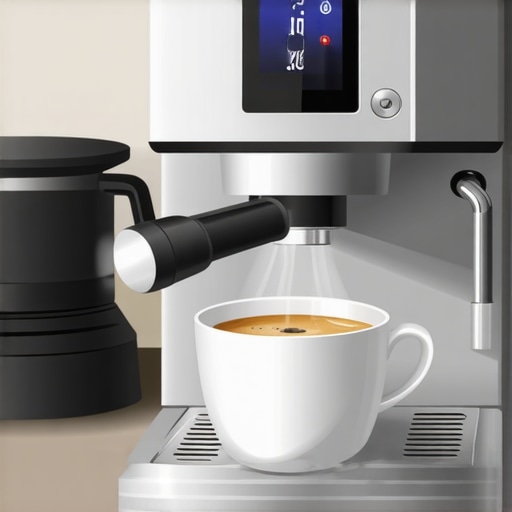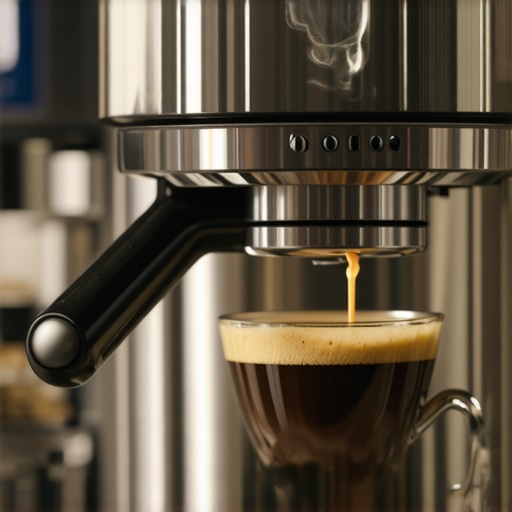
It was one of those mornings when I eagerly prepared my favorite espresso, expecting a picture-perfect latte to impress my friends. Instead, what I got was a frustrating mess — a layer of flat, thin foam that refused to hold its shape. I had absolutely no idea that my super automatic milk frother was the culprit, secretly sabotaging my latte art dreams. I realized that despite owning a top-notch espresso machine, I was missing some secret hacks that could elevate my milk texture and help me achieve barista-worthy designs.
Why Milk Texture Can Make or Break Your Latte Art in 2026
Poor milk frothing is a common hurdle for many home baristas, myself included. You see, with the rapid advancements in super automatic espresso machines and built-in milk frothers, many people assume making perfect latte art is just a press of a button away. But the truth is, if your milk isn’t textured right — thick, creamy, and microfoamed — your latte art will never reach its full potential. The quality of your milk foam directly influences the design’s clarity and finesse.
From the initial pour to the final swirl, the texture of your milk determines the contrast and detail in your latte art. A study published in the Journal of Food Science notes that microfoam — tiny, stable bubbles — are essential for creating those intricate rosettas and hearts. Without it, your designs will look flat or even deflate before you get a chance to finish. Believe me, I’ve made that mistake early on — assuming my milk frother was working perfectly, only to realize I was just churning out a watery mess.
Have you ever faced a similar disappointment? If so, you’re not alone. But here’s good news: with some simple, proven hacks, you can transform your milk from flat to fabulous. In the following sections, I’ll share my top 5 super automatic milk hacks, backed by personal experience and expert insights, to help you master that creamy microfoam in 2026. Ready to impress with latte art that even the pros would envy? Let’s dive in and get started!
Choose the Right Milk and Temperature
Start by selecting fresh, cold milk—whole milk provides richer foam, but alternatives like oat or almond can work with adjustments. Use your super automatic espresso machine’s milk settings or manually set the temperature between 140°F and 150°F, as this range produces optimal microfoam without scorched taste. I once tried frothing cold skim milk at 130°F, expecting good foam, but it resulted in thin, airy bubbles. Adjusting temp settings increased creaminess, transforming my latte art from sloppy to sharp.
Preheat and Rinse Your Equipment
Pour hot water through your milk frother and steam wand before each use to warm internal parts and prevent cold air pockets. This step ensures consistent steaming, much like pre-warming your hands before a workout. When I neglected this, my foam lacked stability. Remember, a clean wand free of residue creates a cleaner microfoam. Regular cleaning with a descaling solution or designated cleaning tablets maintains optimal performance, preventing off-flavors or uneven frothing. Check out this guide for detailed cleaning routines.
Perfect Your Frothing Technique
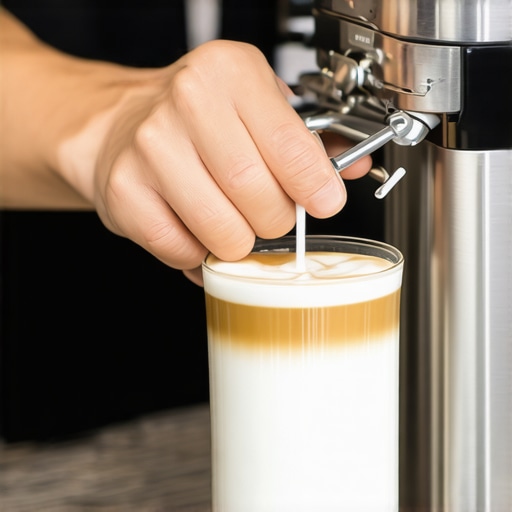
Insert the steam wand just below the milk surface at a slight angle. Start with a steady stream of air by turning on the steam, creating tiny, stable bubbles similar to pouring cream into coffee. Keep the pitcher at a 45-degree angle and position the wand to swirl and incorporate air evenly. During my first attempt, I struggled with large bubbles—slowly lowering the wand and maintaining a consistent position helped produce silky microfoam. Practice makes perfect. For detailed tips, see this resource.
Monitor and Adjust During Frothing
Keep an eye on the temperature and texture as you steam. Move the pitcher slightly to ensure even heat distribution. When the milk reaches around 140°F, turn off the steam, as overheating kills microfoam stability. During a recent session, I paused at 145°F, noticing the foam was too stiff. Lowering the wand slightly and adjusting the angle allowed me to fine-tune the microfoam, resulting in sharper latte art. Use a thermometer for precision or learn to gauge by hand—if the pitcher becomes too hot to hold, stop steaming.
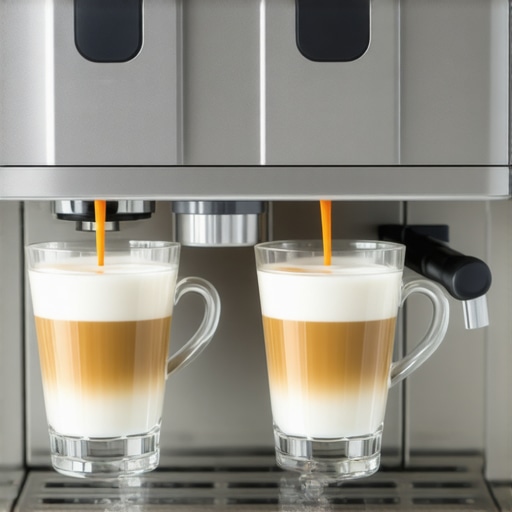
Incorporate Fluffy Milk into Your Coffee
Pour the textured milk into your espresso shot with a gentle, steady flow. Start by tilting the cup and pouring from a height to blend the milk seamlessly. As you near the surface, bring the pitcher closer and pour in a controlled manner to create leaves, hearts, or rosettas. I once made a mess with fast pouring, but practicing slow, deliberate motions helped craft complex designs. For more creative ideas and troubleshooting, visit this article.Many coffee enthusiasts assume that choosing a bean-to-cup machine or an automatic milk frother guarantees perfect espresso and latte art every time. However, this belief often masks underlying complexities that can trip up even seasoned baristas. Contrary to popular opinion, most people overlook the critical nuances in these machines, leading to common mistakes that affect flavor and presentation. For instance, a frequent misconception is that all beans are suitable for bean-to-cup systems—this isn’t true, as oily or oily beans can clog the grinder and brewing pathways if not properly managed. Regular grinder cleaning and employing beans with lower oil content can significantly improve machine longevity and coffee quality. Additionally, many forget that super automatic espresso machines require precise calibration, especially regarding grind size, dose, and temperature—parameters that significantly influence extraction and crema quality. Small misadjustments here can result in sour, bitter, or weak shots, despite using top-tier gear. Don’t fall into the trap of relying solely on automation; understanding these subtle settings elevates your brewing skills and prevents costly repairs.
How can advanced tuning unlock your espresso machine’s true potential?
Scientific studies emphasize that variables like grind fineness and water pressure have outsized effects on extraction efficiency and flavor profile. According to espresso expert Scott Rao, mastering these detailed adjustments is vital for consistent, high-quality results—yet many users remain unaware of their importance. To truly benefit from your equipment, delve into calibration guides and stay vigilant about maintenance routines. For expert tips, visit this resources. Recognizing that automation complements skilled craftsmanship rather than replaces it is essential. Exploring beyond the surface of these machines will save you time, money, and elevate your coffee game. Have you ever fallen into this trap? Let me know in the comments.
Investing in the Right Equipment for Longevity
To keep your bean-to-cup machine and espresso tools performing optimally over the years, selecting quality equipment is crucial. I personally recommend the Baratza Vario-W grinder because of its precise grind adjustment and build quality, which help maintain consistent extraction and flavor. Additionally, using a high-quality water filter, like the Claris Smart from Jura, prevents mineral buildup and scale, extending your machine’s lifespan. Regularly calibrating your espresso grinder, following detailed guides like this resource, ensures your coffee’s flavor remains rich and balanced. Prediction-wise, I believe that smart, IoT-enabled maintenance tools will become standard, allowing your equipment to self-diagnose issues before they impact performance.
How do I maintain my espresso machine and grinder over time?
Consistency in maintenance is key to longevity. Establish a routine of deep cleaning your grinder burrs and espresso machine components monthly using descaling solutions like Dezcal, as detailed in this article. Replace water filters at recommended intervals—typically every 2-3 months—to prevent mineral buildup. Keeping your machine covered when not in use and avoiding prolonged exposure to heat or humidity also preserves its internal components. Investing in a good maintenance kit, such as the Barista Hustle Espresso Maintenance Set, provides all necessary tools to tackle potential issues proactively.
Tools I recommend for smooth operation
Beyond the grinder and water filter, I’ve found that a quality cleaning brush set helps remove residual coffee oils from group heads and steam wands, preventing blockages. Also, a digital thermometer ensures precise milk texturing temperatures—avoiding over- or under-heating your milk, essential for top latte art. For ongoing calibration, using a refractometer like the VST Labs ABRE measurements device has helped me fine-tune grind consistency and extraction quality. These tools, combined with regular cleaning routines, form a robust arsenal for maintaining peak performance of your espresso setup.
Future Trends in Maintenance Technologies
Looking ahead, I predict that artificial intelligence will play a bigger role in maintenance diagnostics—detecting issues before they become noticeable. Smart sensors embedded within machines could log wear patterns and suggest specific maintenance steps, saving time and money. For now, sticking to manual routines supported by reliable tools and staying vigilant about cleaning and calibration is your best bet. If you’re ready to elevate your maintenance game, try integrating a calibration device like the VST Labs ABRE and see how precise adjustments can significantly improve your brew’s taste and texture.
Interested in making this your next upgrade? Visit our contact page for expert advice on selecting the best maintenance tools tailored to your setup.
The Lessons I Didn’t Expect to Learn About Bean-to-Cup and Microfoam
One key insight was realizing that even the most advanced super automatic espresso machines can fall short without proper attention to milk frothing details. I learned that investing in a good-quality thermometer changed my approach entirely, allowing me to achieve consistent microfoam temperatures. Another lightbulb moment was understanding that routine cleaning routines aren’t just maintenance—they’re critical to maintaining that silky milk texture essential for impressive latte art. Lastly, I discovered that adjusting for altitude and ambient humidity, often overlooked, can subtly impact milk frothing quality, prompting me to fine-tune my technique for the perfect cup every time.
My Go-To Resources to Elevate Your Coffee Journey
I swear by the comprehensive guides on automatic milk frothing tips, which have transformed my approach to microfoam preparation. The espresso grinder calibration guide became my bible for maintaining grind consistency and flavor richness. For lasting equipment vitality, I rely on calibration routines that prevent common issues like uneven extraction. And for staying ahead of emerging trends, I follow cutting-edge articles on latest espresso machine innovations.
Your Next Leap Starts Today: Sip with Confidence in 2026
Remember, mastering your bean-to-cup espresso and milk frothing isn’t just about equipment—it’s about understanding every nuance and making deliberate adjustments. In 2026, let your coffee journey be characterized by curiosity, patience, and a willingness to experiment with new hacks. I’ve seen firsthand how small changes can elevate your home barista skills from good to truly exceptional. So go ahead, embrace the learning curve, and turn your kitchen into a personal coffee haven. Are you ready to unlock a new level of espresso artistry? Let me know your biggest challenge below—I’m here to help you overcome it.