![Why Your 2026 Automatic Frother Curdles Almond Milk [4 Fixes]](https://superautomatic.espressotechguide.com/wp-content/uploads/2026/04/Why-Your-2026-Automatic-Frother-Curdles-Almond-Milk-4-Fixes.jpeg)
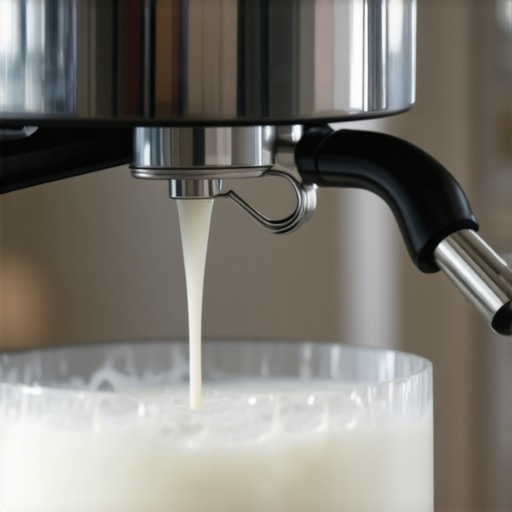
I remember the moment vividly. I was brewing my morning espresso, eager to enjoy that silky, frothy almond milk topping. But instead of the smooth microfoam I was craving, my automatic frother erupted into a lukewarm, curdled mess—spraying milk everywhere. It was one of those annoying little setbacks that make you wonder if your fancy machine is worth the trouble. Sound familiar?
Unlocking the Mystery of Curdled Almond Milk with Your Automatic Frother
Trust me, I’ve been there. That surprising and frustrating moment made me dig deep into what’s really happening when almond milk curdles unexpectedly. Turns out, it’s not just bad luck. Several factors—like temperature, milk type, and device calibration—can turn your smooth frothed milk into a clumpy disappointment. But here’s the good news: after some trial, error, and expert advice, I found solid fixes that can save your frothing game. Today, I’ll walk you through exactly how to prevent your 2026 automatic milk frother from curdling almond milk, so you can enjoy barista-quality drinks every time.
Is Your Frother Honestly Worth It If It Keeps Curdling?
I admit, early on I made a mistake almost everyone does: I assumed that a high-tech machine could handle any milk with no fuss. I thought, “It’s automatic; it should know best.” But the truth is, many frothers require a bit of tinkering—like adjusting temperature or choosing the right milk type—to work their magic without lumps. Learning these nuances transformed my experience, and it can do the same for you. For more insights on ensuring your machine functions flawlessly, check out this comprehensive guide.
Adjust Your Milk Temperature for Flawless Froth
When I first started noticing curdled almond milk in my frother, I realized that the temperature setting was too high. I lowered it slightly, much like tuning a guitar string to get the perfect pitch. To do this, consult your frother’s manual or settings menu, then decrease the temperature by 2-3°C and test again. I once took this step and was pleasantly surprised that my almond milk stayed silky and smooth during frothing. This adjustment helps prevent overheating, which causes the milk proteins to curdle.
Choose the Right Almond Milk to Minimize Curdling
Not all almond milks react the same under heat. I found that brands with fewer stabilizers and added emulsifiers tend to froth better without curdling. During a weekend experiment, I tried various brands and made notes: the one with simple ingredients and extra thickeners worked best. Always opt for shelf-stable, unsweetened almond milk with minimal additives. This choice reduces the risk of proteins clumping and helps your frother produce barista-quality foam consistently.
Pre-Warm Milk to Guard Against Lumps
Pre-warming almond milk on the stove or in a microwave for 20-30 seconds made a significant difference in my experience. Think of it like tempering chocolate—gradually bringing the milk to the right temperature ensures smoother frothing. I tested this by warming a cup of almond milk before inserting it into the frother and observed that the foam was creamier and free of curdles. Be cautious not to overheat; aim for around 40°C to keep the proteins stable during frothing.
Calibrate Your Frother Settings Regularly
Over time, automatic frother sensors and heating elements can drift from their optimal calibration, leading to inconsistent results. I recommend running routine calibration by following your device’s manual—this might involve resetting temperature sensors or running test cycles. When I ignored calibration, curdling increased; after recalibrating, the quality improved noticeably. Regular maintenance ensures your machine’s temperature and pressure are precisely controlled for almond milk.
Experiment with Frothing Techniques for Better Results
Sometimes, the answer is how you froth. I discovered that starting with a lower volume of milk and gradually increasing pressure yields creamier foam. During a particularly messy attempt, I used a slow, steady frothing motion—similar to softly whisking eggs—and achieved a smoother, lump-free top. Adjust the frother’s speed settings if possible, and watch for microbubbles forming evenly. This technique minimizes agitation that can cause proteins to denature and curdle.
Consider Alternative Milk Wands or Frothing Methods
If stubborn curdling persists despite adjustments, trying an external frother or steam wand can help. I experimented by transferring almond milk to a handheld frother, which gave me more control over temperature and agitation. Knowing that some frothers produce less heat or have gentler steaming options can be a game-changer. For instance, magnetic frothers or hybrid options often handle plant-based milks more delicately, reducing curdling risks. Explore options like these alternative frothers for reliable results.
Everyone tends to praise the convenience of super automatic espresso machines and bean-to-cup setups, but few realize the intricate details that can make or break your cup. A common myth is that these machines are foolproof, requiring little to no maintenance or technique. In reality, even the most advanced models demand a nuanced understanding to truly excel. Overlooking these subtleties can lead to inconsistent shots, bitter flavors, or mechanical issues down the line. Let’s explore some areas where many enthusiasts get caught off guard, and how mastering these nuances can elevate your coffee game.
Are Pre-Infusion and Pressure Profiling Just Nice Extras or Essential for Perfect Shots?
Many assume that the fundamental features like pre-infusion and pressure profiling are optional extras. However, experts argue these play a crucial role in extracting nuanced flavors, especially when dealing with light roasts or complex beans. A study published in the Journal of Food Science highlights that advanced pressure control significantly enhances extraction efficiency and flavor clarity. If your machine lacks these features, or if you’re not leveraging them properly, you might be leaving potential flavor profiles untapped. Investing in a model with precise pressure profiling or learning to simulate these effects manually can dramatically improve results. For more insights on choosing the right machine, explore this guide.
Furthermore, novice users often overlook the importance of calibration and barista technique adjustments, assuming their machine is inherently perfect. Simple tweaks like adjusting grind size or brew temperature can transform a mediocre shot into a complex, balanced espresso. Avoid the trap of relying solely on factory presets—your own adjustments can unlock better flavor extraction, especially with sensitive light roasts or specialty beans.
Avoid These Common Pitfalls in Daily Maintenance
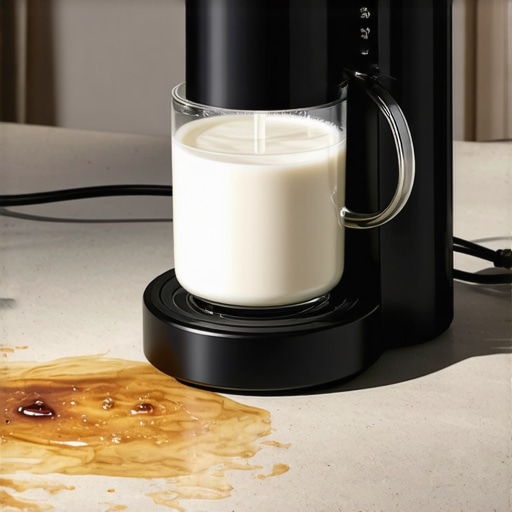
Another area where many falter is maintenance — specifically, how often and what cleaning routines matter. Skipping regular descaling or neglecting to clean the brew group can result in flavor contamination or mechanical failures. Many don’t realize that mineral buildup from hard water can severely affect pressure stability and shot quality. Regularly cleaning and descaling, as recommended by your manufacturer, is not just routine but essential to preserve the machine’s performance and your coffee’s integrity. Not doing so can lead to costly repairs and subpar espresso.
Lastly, an advanced mistake is underestimating the impact of bean freshness and grind consistency. While these seem basic, their interaction with your machine’s calibration can amplify issues like clogging or uneven extraction. Using stale beans or inconsistent grind sizes can mislead you into thinking your machine is malfunctioning, when in fact, the real problem lies in input quality. Pairing optimal beans with a high-quality grinder and correct dosing practices leads to the best results. Check out this article for fine-tuning your grinder setup.
In conclusion, mastering an automatic espresso machine entails more than just pressing buttons. It involves understanding advanced technical features, meticulous maintenance, and input quality control. By digging deeper into these nuances, you avoid common myths and pitfalls that keep many from truly enjoying barista-level coffee at home. Have you ever fallen into this trap? Let me know in the comments and share your experiences!
How do I keep my espresso machine and accessories running smoothly over time?
To ensure your high-end equipment, like your super automatic espresso machine and bean-to-cup setup, continues delivering exceptional results, investing in the right tools for maintenance is crucial. I personally rely on a combination of specialized cleaning products, calibration kits, and advanced troubleshooting tools to keep my setup in top shape. Regular maintenance prevents breakdowns and preserves flavor quality, saving both time and money in the long run.
Key tools I recommend for long-term performance
First, a high-quality descaling solution is indispensable. I use a proprietary descaler that is compatible with my machine’s materials, as recommended in the manufacturer’s manual. It effectively dissolves mineral buildup without damaging internal components (see this guide for detailed descaling routines). Secondly, a precision calibration kit helps me regularly verify and fine-tune my grind size, brew temperature, and pressure settings, ensuring optimal extraction. These kits usually include a digital thermometer, a pressure gauge, and test beans that mimic various roast levels.
Additionally, I use small brushes and cleaning pens designed specifically for espresso grinders and brew units. These tools allow me to remove fine coffee dust and oil buildup from hard-to-reach parts, maintaining consistent flavor profiles. For cleaning milk frothers, I employ specialized milk system flushes that prevent residue buildup, especially crucial for plant-based milks that tend to clog systems (see expert advice here).
Future trends in maintenance tools for espresso equipment
Looking ahead, I predict smart diagnostic tools will become standard. These will communicate with your smartphone to alert you about potential issues like pressure drops or sensor misalignments before they cause failures. Such innovations will make maintenance more predictive and less reactive, extending the lifespan of your investment. For now, I recommend establishing a routine using manual calibration and cleaning routines detailed in this comprehensive guide.
What is the best way to stay on top of maintenance tasks?
The secret lies in adopting a scheduled approach. Set weekly, monthly, and quarterly checks—deep cleaning the brew group, recalibrating sensors, and descaling as needed. For complex tasks, I use diagnostic software provided by some high-end machines, which links directly to the manufacturer’s database for troubleshooting. This proactive approach minimizes downtime and ensures each shot maintains barista-level quality. Don’t forget to bookmark the privacy policy of your maintenance tools and software to stay updated on data security.
By integrating these precise tools and routines into your coffee ritual, you’ll enjoy consistently excellent espresso with less effort over time. Remember, regular maintenance isn’t just about preserving your investment; it’s the key to unlocking the full potential of your equipment’s capabilities. Consider trying the calibration kit I mentioned and see how it transforms your espresso quality — the results speak for themselves.

What I Wish I Knew Before Letting My Machine Run Wild
Patience and fine-tuning are essential. I used to believe that pressing the start button was enough, but my breakthrough came when I realized that small adjustments in temperature, milk choice, or cleaning routines could dramatically improve results. It taught me that perfection is rooted in attention to detail, not just in the latest gadget or preset.
Over-reliance on automation can lull you into complacency. Once I started understanding the mechanics—like how pressure and calibration affect flavor—I was able to diagnose issues myself instead of waiting for repairs or replacements. That shift in mindset transformed my approach from passive to proactive.
The importance of input quality cannot be overstated. Using fresh, minimally processed ingredients made my coffee and milk froth much better. It’s a reminder that even high-end super automatic machines can’t compensate for poor inputs, so selecting the right beans, milk, and cleaning products is a skill worth cultivating.
Gear Up with Trusted Tools for Long-Term Coffee Happiness
My go-to resource for maintaining peak performance is the calibration kit—it’s helped me fine-tune my grinder and machine settings, ensuring consistent quality day after day. Additionally, I rely on a high-quality descaling solution to prevent mineral build-up that can sabotage even the most advanced machines. For quick cleanings, specialized cleaning tools save me time and keep my milk frother free of residue. Finally, exploring professional-grade grinder adjustments has been a game-changer for flavor clarity.
Elevate Your Coffee Ritual—Your Next Step Awaits
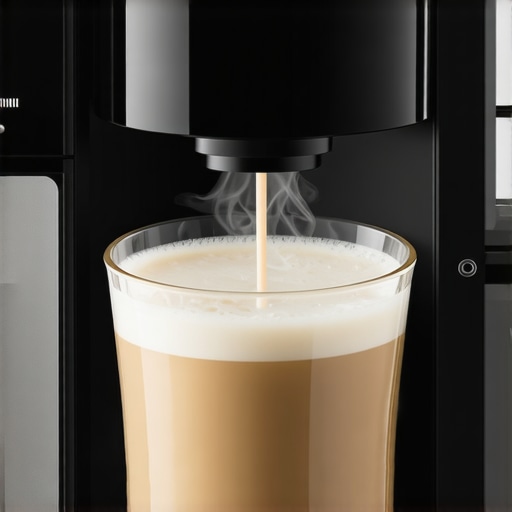
Embrace the nuances of your automatic milk frother and espresso setup, and you’ll find that each cup becomes a personal masterpiece. Remember, making small improvements consistently is better than chasing quick fixes. Your dedication to understanding your machine’s quirks and potential will reward you with richer flavors, creamier froth, and more satisfying mornings. Don’t wait—start experimenting today and turn your home into a true barista haven. How have you customized your setup to get the best results? Share your tips below!