Have you ever pulled a shot of espresso only to be met with a whisper of flavor, a thin crema, and a disappointing lack of that rich, bold punch you crave? I remember the first time I experienced weak, flavorless espresso from my super automatic machine. It was like drinking bitter water instead of that silky, aromatic brew I had envisioned. After investing time and money into my setup, I realized that small, overlooked adjustments could make all the difference.
Why Your Espresso Shots Might Be Falling Flat
It’s frustrating, isn’t it? You’ve got the fancy grinder, the shiny machine, and a cupboard full of beans—yet your espresso doesn’t deliver the robust experience you’re after. The culprit often lies in simple, tweakable factors that many home baristas miss. Trust me, I’ve been there. Early on, I made a critical mistake: I assumed my grinder was perfectly calibrated without checking. That one oversight led to weak, insipid shots week after week. Once I started paying attention to grinder adjustments, my espresso game improved dramatically.
Is It Really Worth All This Fuss? Trust Me, It Is
When I first heard about tweaking grinder settings and dose amounts, I was skeptical. Honestly, I thought it was just another coffee geek obsession. But I learned that tiny changes—like adjusting the grind size or dose—can have a huge impact on shot quality. According to barista experts, proper grind adjustment alone can improve the shot by up to 50%. So, yes, these tweaks are *absolutely* worth it, especially if you’re serious about elevating your home espresso experience. Want to see how to do it right? Stick around. We’re about to dive into five simple tweaks that will transform your weak shots into rich, flavorful masterpieces. Curious if you’ve already tried some of these? If you’ve faced this problem, you’re not alone. Many enthusiasts struggle with weak shots before hitting on the right adjustments. And don’t worry—I’ll help you avoid common mistakes along the way. For instance, a mistake I made early on was neglecting to clean and calibrate my grinder regularly, which led to inconsistent tamping and uneven extraction. Learning that small maintenance detail saved me a lot of frustration.
Ready to get your espresso tasting as good as it looks? Let’s take a deep breath and start fixing those weak shots one tweak at a time. First, we’ll look at optimizing your grinder to unlock the full potential of your beans. Because without a doubt, the grinder is the cornerstone of great espresso—more than any fancy machine or technique. If you want more insights and detailed steps on how to calibrate your grinder or troubleshoot common issues, check out this comprehensive guide. Now, let’s get into the practical tweaks that will bring flavor back into your cup.
Dial in Your Grinder for Consistent Texture
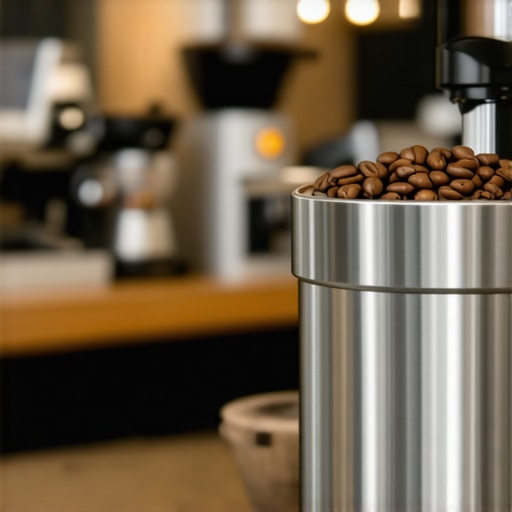
Start by making small, incremental adjustments to your grinder’s burrs. If your shots are weak, coarse grounds might be the culprit. Turn the grind size dial one notch finer—think of it like sharpening a knife; the goal is to achieve a uniform, powdery texture. I recall a time when I struggled with watery espresso until I adjusted my grinder’s settings. After trial and error, I dialed it just a hint finer, and the shot transformed into a thick, luscious stream filled with crema.
Use the Right Dose for Optimal Extraction
Next, focus on your coffee dose—the amount of coffee you pack into the basket. Too little, and you’ll get under-extraction, resulting in weak flavor. Too much, and the water struggles to pass through, leading to a quick, bland shot. Aim for the manufacturer’s recommended weight—typically around 18-20 grams for a double shot—and measure precisely with a digital scale. When I first started dosing accurately, I noticed immediate improvements, with a shot that filled the cup with rich aromatics and body.
Refine Your Tamping Technique
Apply consistent, firm pressure—about 30 pounds—when tamping. Think of tamping as compressing a sponge to control water flow; uneven tamping causes channels and uneven extraction. Use a level tamping station if needed, to ensure even pressure every time. I once watched a barista demonstrate a perfect tamp—pressing firmly and leveling the surface consistently. Practicing this made my extraction more uniform, leading to a more balanced flavor profile.
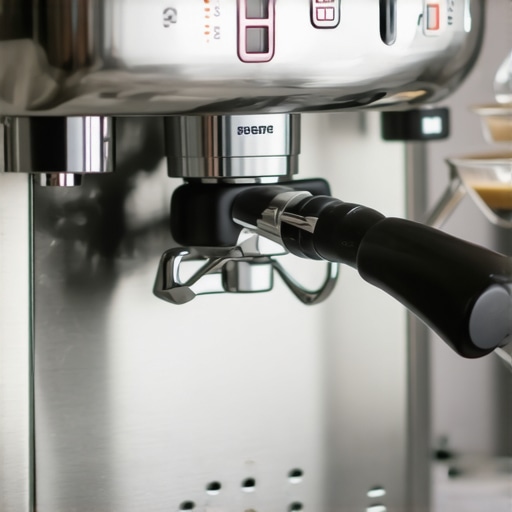
Optimize Your Machine’s Settings
Adjust your espresso machine’s parameters—temperature, pressure, and pre-infusion—according to your beans and preferences. Consult your machine’s manual or guide, such as this comprehensive resource, for recommended ranges. For example, increasing temperature slightly can enhance extraction of dark roasts, while lower temperatures favor lighter blends. I once increased my machine’s temperature by one degree, which boosted the body and sweetness of my espresso without bitterness.
Practice and Record Your Adjustments
Keep a log of your settings—grind size, dose, tamping pressure, temperature—to track what works best. Small changes can have big effects; documenting helps you fine-tune your process. I used a simple notebook, noting each tweak and the resulting flavor. Over time, this habit turned my messy experimentation into a precise science, consistently delivering shots I loved.
Maintain Your Equipment Regularly
Clean your grinder burrs and espresso machine filters weekly. Built-up oils and coffee residues can affect grind consistency and water flow. Imagine trying to write on a smudged paper—the result is unclear. Once I cleaned my grinder thoroughly, my grounds became more uniform, and my shots improved significantly. Proper maintenance is crucial for dependable, high-quality espresso. For detailed cleaning routines, check out this guide.
Conclusion
Implementing these practical adjustments—refining grind size, dosing accurately, tamping consistently, optimizing machine settings, and maintaining equipment—will immediately impact your espresso’s richness and crema. Remember, patience and meticulous attention to detail are your best tools on this journey to espresso mastery. If you encounter persistent issues, don’t hesitate to reach out through this contact page for tailored advice. Keep experimenting, and soon your daily brew will rival your favorite coffee shop’s best shots!
While many home baristas focus on purchasing the latest espresso machines or grinding beans to perfection, there’s a subtle yet critical understanding that many overlook. One of the most enduring misconceptions is thinking that higher-end equipment automatically guarantees stellar coffee. In reality, even top-tier machines require nuanced adjustments and proper maintenance—things most enthusiasts tend to underestimate. Having worked extensively with various espresso setups, I can attest that knowing the subtle intricacies of your grinder, machine, and accessories can make or break your brew.
Is Your Super Automatic Actually Doing the Work for You?
Many assume that a super automatic espresso machine simplifies everything to the point where user input becomes irrelevant. However, this isn’t entirely true. The complexity of these machines lies in their programmability and internal sensors, which can sometimes give a false sense of security. For example, over-reliance on automatic features like integrated grinders or milk frothers can blind users to the importance of regular calibration and cleaning. An overlooked issue is how coffee bean oil residues can clog internal components, leading to inconsistent shots—even in premium machines. Regular descaling and maintenance are vital, yet often neglected. For expert insights on maintaining these machines, refer to this in-depth guide.
Furthermore, many get frustrated because they believe that automatic milk frothers produce the same quality as manual steaming. In truth, automatic frothers are susceptible to common pitfalls such as flat foam or overheating milk—errors that even experienced baristas mitigate through careful calibration or choosing the right accessories. For example, automatic milk frothers can waste milk if not properly cleaned or if the milk type isn’t recommended; soy milk, for example, often causes clogging. For precise techniques, check out this comprehensive guide.
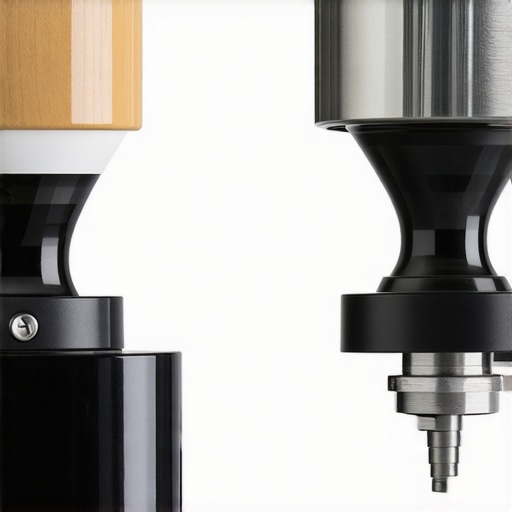
It’s also a trap to believe that the perfect grind is achieved by just dialling in for coarseness or fineness. The real nuance involves burr alignment, consistency, and how well the grinder is maintained over time. Misaligned burrs or dull blades can introduce uneven grounds, leading to over- or under-extraction. This subtlety can be game-changing, especially when using beans with specific profiles like dark roasts that demand precise grinding for optimal flavor. To master this, I recommend exploring this expert resource.
Advanced Techniques for Coffee Aficionados: How Do You Adjust for Roast Profiles?
Beyond basic calibration, understanding how different roast levels impact grind size, extraction time, and machine temperature is crucial. Dark roasts, for example, are more forgiving but can lead to oily beans that clog grinders or filters. Conversely, light roasts might require finer grounds and lower extraction temperatures. Adjusting parameters in a nuanced way tailored to your beans elevates your coffee from good to exceptional. Regularly recording these adjustments can reveal patterns and help you fine-tune your setup. Curious about these advanced techniques? Dive into this detailed guide for practical steps.
Finally, avoid the trap of believing that equipment alone determines your espresso quality. Even the most expensive gear will underperform without understanding these hidden nuances. Regular maintenance, precise calibration, and tailored adjustments—aligned with your specific beans and preferences—are keys to unlocking the full potential of your investment. Have you ever fallen into this trap? Let me know in the comments. Remember, mastery lies in the details.
Essential Maintenance Strategies for Your Espresso Setup
To ensure your coffee remains consistently rich and flavorful, regular maintenance of your espresso grinder, machine, and accessories is paramount. Neglecting routine care can lead to performance dips, flavor inconsistencies, and costly repairs down the line. I personally dedicate time each week to cleaning and calibration, which has significantly extended the lifespan of my equipment and improved shot quality.
Invest in a Quality Tool Kit
Having a dedicated set of precision tools makes maintenance straightforward and effective. I recommend keeping a precision burr alignment gauge and a cleaning brush set on hand. For example, this guide highlights tools specifically designed for professional-grade calibration, which I use to realign my burrs and ensure uniform grinding.
Implement a Weekly Cleaning Routine
Deep cleaning your grinder and machine filters prevents oil buildup and clogging. I run grinder cleaning tablets once a week and wipe down components with a damp cloth. For milk frothers, regular disassembly and thorough cleaning prevent flat foam and bacterial buildup. Exploring this detailed guide has helped me master the art of maintaining my automatic milk frother for barista-quality froth every day.
Use Software and Calibration Tools
If your grinder or machine offers calibration software, utilize it monthly. For instance, some super automatic machines allow software updates that improve performance and reliability. I regularly calibrate my grinder using manufacturer-provided tools to maintain optimal burr alignment and grind consistency—crucial factors highlighted by this resource.
Plan for Long-Term Upkeep
Scheduling professional tune-ups every 12-18 months can prevent minor issues from escalating. For my setup, I choose certified technicians who specialize in espresso gear—an investment that pays off in prolonged equipment lifespan and superior brew quality. Trends indicate that as machines become more digital and connected, maintenance will increasingly incorporate remote diagnostics and software updates, according to emerging industry reports.
How do I maintain my espresso equipment over time?
The key is consistency. Regular cleaning, calibration, and professional check-ups are the backbone of long-term performance. Staying ahead of issues by following manufacturer guidelines and utilizing dedicated tools ensures your investment continues to produce exceptional shots. Once you incorporate a systematic maintenance routine—like using a precision burr alignment gauge regularly—you’ll notice fewer performance dips and more delightful espresso endeavors.
Ready to elevate your maintenance game? Try calibrating your grinder with a precision gauge this week. It’s a small step that can dramatically enhance flavor and consistency. For a comprehensive approach tailored to your equipment, consider consulting this contact page.
Lessons I Wish I Learned Earlier About espresso gear
One of the most eye-opening revelations was realizing that my best equipment couldn’t compensate for neglected maintenance and improper calibration. I used to think that investing in an expensive grinder or machine was enough, but I discovered that regular cleaning and fine-tuning are equally crucial. A simple oversight, like ignoring burr alignment, turned my otherwise high-end setup into a source of inconsistent shots. That lightbulb moment taught me that mastery is about care and attention to detail, not just gear.
Another lesson is how subtle adjustments—such as tweaking my grind size or tamping pressure—can dramatically improve flavor extraction. I used to overlook small changes, believing larger technical fixes would make a difference. Once I embraced incremental tweaks and kept detailed notes, my espresso quality soared. It’s a reminder that perfection often lies in the fine details, often hidden from plain sight.
I also learned that automatic milk frothers, while convenient, require as much attention as manual techniques. Neglecting their cleaning or misadjusting settings leads to flat foam or overheating. Through trial and error, I found that understanding their quirks and maintenance routines is key to achieving velvety milk every time. For in-depth tips, check out this comprehensive guide.
My Favorite Tools That Keep My Coffee on Point
Over time, I’ve curated a small arsenal that makes all the difference. A precision burr alignment gauge has saved me countless headaches by ensuring my grinder produces consistent grounds. paired with a digital scale for dosing, these tools help me replicate shots with confidence. I also swear by cleaning kits specifically designed for espresso machines and grinders, which keep internal components free from oils and residues. For anyone serious about elevating their coffee, investing in these tools is a game-changer; see this guide for recommendations.
Finally, maintaining a well-organized log of your adjustments and results has helped me identify the perfect sweet spot for my setup. By tracking grind size, dose, temperature, and tamping pressure, I eliminated guesswork and accelerated my improvement. This habit might seem small, but it creates a feedback loop that sustains consistent excellence.
Take Action and Elevate Your Espresso Journey
Improving your espresso isn’t about chasing perfection overnight but about embracing the small, deliberate steps that lead to mastery. From regular equipment maintenance to mindful adjustments, every detail counts. I encourage you to experiment with just one tweak this week—perhaps calibrate your grinder or refine your tamping technique—and notice how your coffee transforms. You deserve a brew that matches the effort you put into it. For tailored support, don’t hesitate to reach out through this contact page. Happy brewing!
![Why Your 2026 Espresso Grinder Burrs Trap Fine Dust [3 Fixes]](https://superautomatic.espressotechguide.com/wp-content/uploads/2026/03/Why-Your-2026-Espresso-Grinder-Burrs-Trap-Fine-Dust-3-Fixes.jpeg)
Brandon Collins
I’ve definitely experienced that struggle with weak, thin shots even after upgrading my grinder and machine. What finally made a real difference for me was focusing on grinder calibration and ensuring that my burrs were perfectly aligned. I realized that with even a dull or misaligned burr set, it’s almost impossible to get consistent grounds, which impacts extraction. Maintaining the grinder and making small tweaks to the grind size—finer if the shot is weak—really transformed my results. I also paid closer attention to dose accuracy and tamping pressure; the consistency here can’t be overlooked.
One thing I’m curious about is how others approach recording their adjustments. Do you keep a detailed log, or do you prefer a more intuitive method? I’ve started using a simple notebook and find it helps me identify patterns over time. Have any of you found a particular practice helpful for troubleshooting and achieving that perfect shot? Would love to hear your experiences to improve my routine further.