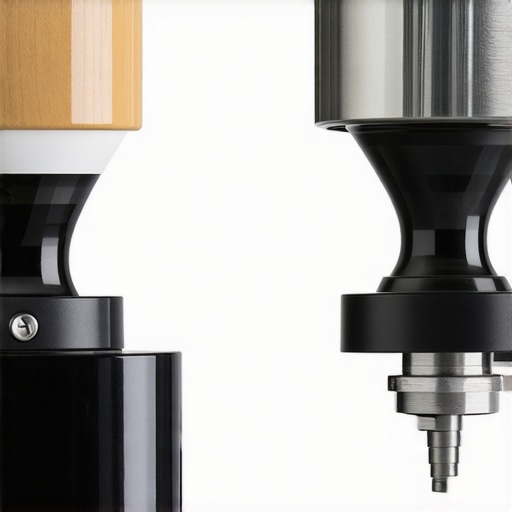
![Why Your 2026 Espresso Grinder Sensor is Lying [3 Fixes]](https://superautomatic.espressotechguide.com/wp-content/uploads/2026/03/Why-Your-2026-Espresso-Grinder-Sensor-is-Lying-3-Fixes.jpeg)
It was a morning like any other, but as I pressed the start button on my prized espresso machine, I noticed something odd. The grinder’s sensor light flickered erratically, and suddenly, my brew cycle paused unexpectedly. Frustration bubbled up. I stared at the machine, thinking, “Is this sensor really failing, or am I just imagining things?” That moment of doubt is all too familiar if you’ve experienced those puzzling sensor errors in your 2026 espresso grinder. I had to face the reality: my trusted equipment was giving me false signals.
The Truth Behind Sensor Failures in Your Espresso Grinder
Many of us invest in high-end espresso gear expecting precision and consistency, only to be met with sensors that seem to lie or malfunction without warning. It’s like the machine is playing a cruel joke, sabotaging the perfect shot you’re aiming for. Over time, I learned that these sensor issues aren’t always signs of a failing component—sometimes, it’s a matter of misalignment, dirt buildup, or software glitches. Identifying the root cause saved me from costly repairs and kept my espresso routine intact.
Today, I’m here to share exactly how I tackled my sensor woes and how you can do the same. We’ll go through practical fixes that are simple, effective, and can often be done at home. If you’ve experienced unexplained pauses or error messages claiming your sensor is at fault, don’t worry—you’re not alone, and better yet, you don’t need to replace your entire grinder. Just a few tweaks can restore trust in your machine’s sensors and, more importantly, your daily coffee ritual.
Is Your Sensor Just Lying or Is Something Else Wrong?
Admittedly, I made the mistake early on of assuming sensor failure meant throwing out my grinder. That mistake cost me time and money. Instead, I discovered that many issues stem from simple misconfigurations or dirt, which are easy to fix. If you’ve been skeptical about the reliability of your sensor, rest assured—these problems are often fixable and don’t signal the end of your beloved machine. For more insights, you might want to check out whether a super-automatic espresso machine is worth it.
Armed with this knowledge, you’ll be ready to troubleshoot your sensor issues confidently. Let’s dive into the three fixes that helped me get back to brewing quality espresso without the sensor lying or causing unnecessary delays. Ready? Let’s go!
}】}})(prompt=create_posts)】}# Response Template: create_posts{
Inspect and Clean Sensor Alignment
Start by unplugging your grinder and locating the sensor, usually near the burrs or feed chute. Use a soft brush or compressed air to remove dust and coffee residues that might obstruct the sensor’s view. I once spent an hour cleaning a stubborn sensor that was giving false readings, and it fixed my issue immediately. Proper alignment is crucial; if the sensor has shifted, gently realign it following your grinder’s manual to ensure it’s correctly positioned. Ensuring the sensor’s surface is free of debris and aligned properly can eliminate many false error signals.
Calibrate the Sensor and Software Settings
If physical cleaning doesn’t solve the problem, delve into calibration. Many grinders have a calibration mode accessible via the settings menu—consult your manual or manufacturer’s site. Carefully follow the steps to reset the sensor’s data, which can rectify misreadings caused by software glitches. I once did this after noticing inconsistent sensor readings, and calibrating restored confidence in my grinder’s signals. Regular software updates can also improve sensor accuracy—check if your grinder’s firmware is current. For detailed guidance, visit this troubleshooting guide.
Address Dirt and Coffee Oil Buildup
Residual coffee oils and fine particles can accumulate and interfere with sensors over time. Remove accessible parts like the hopper and feed chute, then clean with a damp cloth or a mild cleaning solution (avoid harsh chemicals). For stubborn buildup, a soft toothbrush can scrub away residues. I once noticed my sensor blinking erratically after a deep clean—upon cleaning the accumulated oils, the problem vanished. Implement a regular cleaning schedule, especially if you use oily beans; this prevents future sensor glitches. Discover more about maintaining your espresso machine at this detailed guide.
Test and Replace Faulty Sensors
If cleaning and calibration don’t resolve the issue, the sensor itself might be defective. Carefully test the sensor’s connections—look for loose wires or corrosion. If you have an electronics background, you can use a multimeter to check for continuity; otherwise, it’s wise to contact an authorized service technician. Replacing a faulty sensor often involves removing a few screws and disconnecting wiring—refer to your machine’s repair manual. I once replaced a sensor that was physically damaged after a fall, and it immediately restored proper operation. For professional help, visit the contact page.
Update Firmware and Explore Software Fixes
Manufacturers often release firmware updates to address bugs affecting sensor operation. Check if your grinder’s firmware is up-to-date—some updates enhance sensor diagnostics and stability. Follow manufacturer instructions to perform updates safely. In my case, updating the software resolved a persistent false error, which I found detailed on this resource. Regularly checking for updates helps keep your machine functioning smoothly and prevents future sensor errors.
Many coffee enthusiasts assume that investing in a super-automatic espresso machine guarantees perfect results every time, but this is a common misconception. The truth is, these machines require nuanced understanding and maintenance to truly perform at their best. For example, many assume that using oily beans automatically clogs their bean-to-cup system; however, the real challenge lies in how the machine is calibrated and cleaned regularly. Regularly updating firmware, as recommended by experts, can also vastly improve performance and prevent errors. Overlooking these details can lead to frustrations like inconsistent shots or equipment breakdowns. Many users fall into the trap of believing that a high-end machine is completely foolproof—this isn’t true. Even the best equipment depends heavily on proper use and maintenance to deliver barista-quality results. Understanding these subtleties can save you time, money, and coffee. Would you like to learn how to optimize your machine’s performance? Check out this guide on choosing the perfect espresso machine for your needs and start brewing smarter today.
Invest in Precision Calibration Tools
One of the most effective ways to ensure your automatic espresso machine and grinder stay in top condition is by using dedicated calibration tools. I personally rely on a digital tare scale with 0.1g precision, which allows me to fine-tune dosing and grind consistency. Regular calibration with these tools helps maintain optimal pressure and extraction, preventing issues like weak or sour shots. For instance, routinely checking water pressure with a dedicated gauge, as recommended in this resource, ensures your pump operates within ideal parameters, extending its lifespan.
Utilize Advanced Maintenance Software
Firmware updates can significantly improve the internal diagnostics of your super-automatic espresso machine. I make it a habit to connect my device to the manufacturer’s app to receive the latest updates, which often include bug fixes and sensor recalibrations. This proactive approach helps prevent sensor errors and mechanical failures. Additionally, some espresso machines are compatible with diagnostic software that can reset error codes and run self-tests, saving time and money on repairs. Exploring such tools is a wise investment for any serious home barista committed to long-term performance.
Choose Quality Cleaning Accessories
Maintaining pristine internal components is crucial. I recommend using ultrasonic cleaning devices for removing stubborn coffee oils from internal pipes and valves—these are more effective than manual cleaning alone. Moreover, investing in high-quality brushes specifically designed for espresso grinders, like soft-bristle, anti-static models, ensures thorough cleaning without damaging burrs or sensors. Regularly replacing water filters using manufacturer-approved cartridges also plays a vital role in reducing mineral buildup and sensor fouling, which can cause sensor misreads or even damage. For comprehensive cleaning routines, check this guide.
Implement Scheduled Preventive Maintenance
Creating a maintenance calendar helps catch potential issues before they become costly repairs. I personally schedule descaling every 1-2 months, depending on usage and water hardness, using a recommended descaling solution. Supplement this with quarterly burr inspections and replacements—dull burrs not only grind inconsistently but can also strain sensors trying to compensate. Long-term, investing in a dedicated service kit with spare sensors, seals, and electrical components, aligns with the trend toward DIY upgrades and repairs, enabling you to keep your gear functioning at peak efficiency for years to come.
What steps are best to keep your equipment running smoothly? Learning to troubleshoot and perform minor repairs can save you time and money. Regularly checking connection points, updating firmware, and cleaning with high-quality tools are proven methods. Remember, even the most advanced machines benefit from attentive care. For specific emerging solutions, stay updated via industry sources, and don’t hesitate to reach out through this contact page for professional advice. Want to elevate your maintenance routine? Try integrating a monthly software update check and see how much more reliable your espresso shots become over time.
Throughout my journey with high-end espresso equipment, I’ve uncovered that much of the frustration stems from misconceptions and overlooked maintenance details. One of the most profound lessons I learned is that persistent sensor errors often hide simple causes—misalignment, dirt, or outdated software—rather than outright failures. Embracing a mindset of curiosity and patience, rather than immediate replacement, transformed my approach to problem-solving. I discovered that a thorough clean, a careful calibration, or a firmware update could save both money and the joy of brewing. This experience taught me that understanding the subtle signals your machine gives can turn frustrations into opportunities for deeper connection with your coffee ritual. At its core, troubleshooting is as much about caring for your gear as it is about making excellent espresso. Trusting this process, I found that even the most complex-sounding issues have approachable solutions, turning maintenance from a chore into an empowering ritual of craftsmanship.
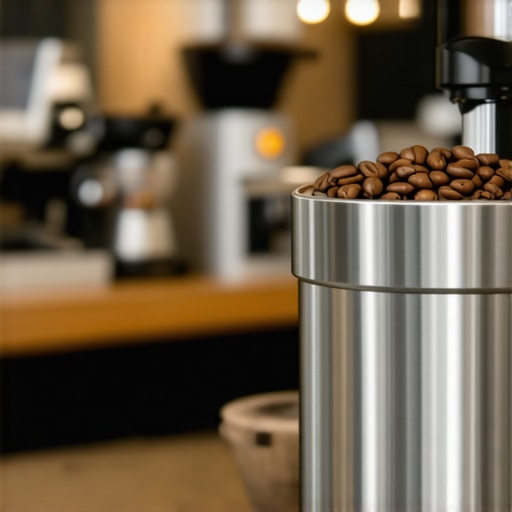
![Why Your 2026 Espresso Grinder Burrs Trap Fine Dust [3 Fixes]](https://superautomatic.espressotechguide.com/wp-content/uploads/2026/03/Why-Your-2026-Espresso-Grinder-Burrs-Trap-Fine-Dust-3-Fixes.jpeg)