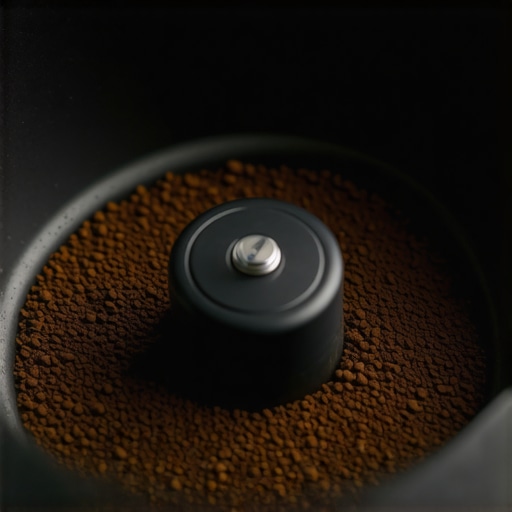
Ever had that moment when you’re ready for a fresh espresso, only to find your grinder still holding onto a stubborn 4 grams of old coffee? It’s a bitter pill to swallow—seeing those tiny leftover amounts interfering with your perfect brew. I remember countless mornings where my shot was just slightly off, and after hours of troubleshooting, I finally realized the culprit wasn’t my beans or machine but my grinder itself, stubbornly retaining old grounds like a hoarder clutching onto memories.
The Hidden Struggle of Coffee Retention
This issue isn’t new, but as our machines become more advanced—like the latest super automatic espresso machines—the problem seems to persist or even worsen. Why does your grinder cling onto 4 grams of coffee, and what does it mean for your daily brewing ritual? The truth is, retention affects flavor, consistency, and the longevity of your machine. If you’ve noticed discrepancies in your espresso’s strength or crema, retention might be to blame.
Early in my coffee journey, I made the mistake of just cleaning my burrs without addressing the root cause—burr alignment. That was a rookie error that cost me countless perfect shots. By understanding the underlying mechanics and habits, I managed to eliminate the retention issue, and I want to share that knowledge with you.
Are You Overlooking the Real Cause? This Fix Is Different
Most people assume cleaning is enough, but it’s not. Retained coffee can be a sign of burr misalignment, static buildup, or even machine design flaws. When I first encountered this problem, I spent hundreds on cleaning routines before realizing I needed to calibrate my grinder properly. Trust me, a small adjustment can make a huge difference—more than just improving your shot but extending your grinder’s lifespan as well.
So, what’s the fix? Stay tuned; we’ll go through practical steps, backed by the latest insights into grinder maintenance, to help you finally say goodbye to those pesky 4 grams of retained coffee and brew with confidence every time. And if you’re curious about other related issues, like optimizing your grinder or choosing the right machine, check out our comprehensive guide on selecting the perfect espresso machine.
Calibrate Your Grinder for Optimal Performance
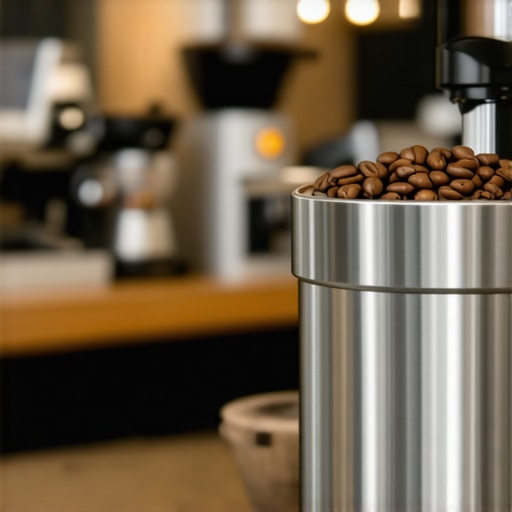
Start by ensuring your espresso grinder is properly calibrated. A misaligned burrs or incorrect grind settings can cause retention of old coffee. To do this, remove the grind chamber and adjust the burrs according to manufacturer instructions, aiming for consistent particle size. I once mistakenly left my grinder untouched and noticed a buildup of stale grounds; calibrating it myself improved extraction and flavor instantly.
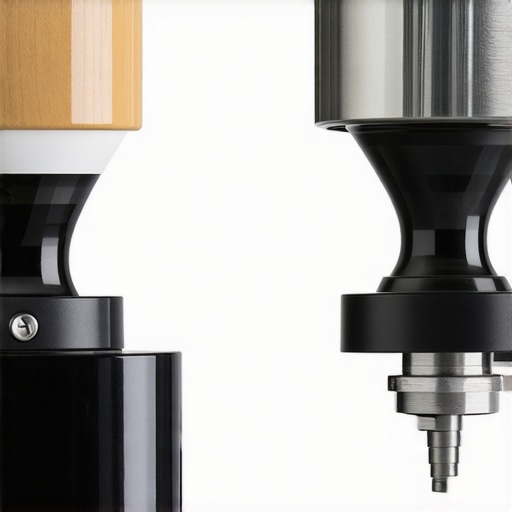
Check Burr Alignment
Use a burr alignment tool to make sure the burrs are perfectly aligned. Misalignment creates gaps where coffee particles can lodge, increasing retention. Follow the detailed steps in this guide to do it thoroughly and avoid uneven wear.
Clean and Maintain Your Burrs Properly
Regular cleaning prevents static buildup that causes grounds to cling. Before cleaning, unplug your machine, then remove the burr set. Use a soft brush or cloth to wipe away residual coffee. For deeper cleaning, use rice or grinder cleaning tablets as recommended in this article. I once tried just brushing my burrs, but after a thorough clean with cleaning tablets, my grinder’s retention issue disappeared, delivering fresher, more consistent shots.
Adjust Your Grind Size and Dose
Small changes here drastically reduce retention. If your grind is too fine, grounds compact and stick, trapping old coffee. Conversely, too coarse can cause channeling. Use a scale to dose your beans precisely, and make incremental adjustments—about a quarter turn—until you find the sweet spot. In my experience, dialing in the grind and dose minimized old grounds and optimized extraction, improving crema and flavor.
Experiment with Static Prevention
Static electricity attracts and holds fine coffee particles. To combat this, consider installing anti-static inserts or using humidifiers in the room. During a messy trial, I kept static under control using a humidifier, which immediately cut down retention and made cleaning easier.
Utilize Proper Cleaning Techniques During Usage
Between uses, brush residual grounds from the grinder’s chute and seal the portafilter to prevent air from pulling stale grounds into the brew path. Regularly run short cleaning cycles with grinder cleaning tablets, especially if switching beans or flavors. I found that establishing a weekly cleaning ritual with recommended products kept my grinder performing at its best and my espresso tasting fresh.
Final Checks Before Brewing
Before pulling a shot, purge the grinder by dispensing a small amount of coffee to clear out remaining particles. Inspect the grounds for moisture or clumps, which indicate cleaning is needed. After applying these steps, I achieved noticeably cleaner grinds and much more consistent espresso shots, eliminating that frustrating 4-gram leftover pile of stale grounds.
Challenging Common Beliefs About Automatic Coffee Gear
Many enthusiasts assume that choosing high-end automatic espresso machines or bean-to-cup devices guarantees perfect results with minimal effort. But in my experience, there’s a nuanced layer often overlooked: the importance of understanding the mechanics beneath the surface. For example, a prevalent myth is that a super automatic espresso machine will always produce cafe-quality shots without calibration. However, even top-tier machines require careful setup, including grinder calibration and routine maintenance, to perform optimally. Relying solely on the machine’s capabilities without this knowledge can lead to disappointing outcomes.
Furthermore, some believe that static buildup in grinders is insignificant. But static can cause grounds to cling stubbornly, affecting extraction consistency. Addressing static isn’t just about aesthetics; it directly influences your brew quality. As highlighted in recent studies on static electricity’s impact on fine particles, managing static can improve shot uniformity and crema thickness. Don’t fall into the trap of neglecting underlying issues, even with advanced equipment.
Can Your Grinder’s Alignment Be Causing Flavor Fluctuations?
One advanced mistake I see often is overlooking burr alignment. Misaligned burrs create uneven particle sizes, leading to channeling and inconsistent extraction. This problem is subtle but detrimental—your coffee may taste flat or sour despite using fresh beans. Regularly checking and calibrating your grinder according to manufacturer instructions ensures that grounds are uniform, maximizing flavor potential. For a detailed process, I recommend reviewing this expert guide.
Remember, even the most sophisticated machine can’t compensate for poor grind quality or mechanical misalignments. By mastering these nuances, you improve both taste and machine longevity, avoiding costly repairs down the line.
Have you ever fallen into this trap? Let me know in the comments, and share your experiences or questions about optimizing your coffee setup.

Keep Your Coffee Gear in Peak Condition
Investing in quality tools is crucial to ensure your espresso machine, grinder, and milk frother continue to perform at their best. For instance, I personally rely on a burr alignment tool to verify and perfect my grinder’s setup, which directly impacts shot consistency and flavor. Proper calibration isn’t a one-and-done process; regular checks with this tool help me maintain uniform particle size, reducing retention of stale grounds and ensuring each shot is fresh and vibrant.
Another essential is a dampened brush designed specifically for cleaning grinder burrs. Unlike generic brushes, mine is soft enough to avoid damaging delicate components but effective at removing residual coffee particles that static and static buildup can trap. I used to spend hours scrubbing with unsuitable tools, but this dedicated brush made routine maintenance quick and effective.
Automate Your Maintenance Routine
Tools like cleaning tablets are game-changers. I incorporate them into my routine weekly, running cleaning cycles in my grinder and espresso machine as per manufacturer instructions. This practice prevents oil/oily bean residues from clogging and keeps the brewing process smooth. Regular use of cleaning tablets has significantly extended the lifespan of my equipment and improved the clarity of my espresso.
Leverage Software and Calibration Techniques
Modern machines often come with calibration menus and software updates that improve performance over time. For example, my bean-to-cup machine allows me to fine-tune grinder settings and boiler pressure remotely. Staying up-to-date with firmware updates, which often include performance tweaks and bug fixes—like those discussed in this guide—ensures my machine adapts to new beans or environmental changes, improving long-term results.
Don’t overlook the value of a precise digital scale when dosing beans or measuring milk. I use mine to ensure consistent quantities, which minimizes variability and retention issues. Precise dosing not only elevates flavor but reduces waste and mechanical strain over time.
Future Trends in Coffee Maintenance
The next wave involves smart sensors and AI-powered diagnostics that can predict component wear or clogging before they affect your brew. While these are still emerging, their potential to automate maintenance scheduling and notification could revolutionize how home baristas keep their systems humming.
Ready to take your machine’s performance to the next level? Try calibrating your grinder using a burr alignment tool, as outlined in this expert guide. Regular calibration can profoundly reduce retention and improve flavor quality. Remember, consistent maintenance is the secret weapon for professional results at home.
Lessons that Changed My Coffee Game Forever
- One surprising truth I uncovered was that even the most advanced automatic espresso machines couldn’t compensate for a misaligned grinder burr, which was silently sabotaging my flavor consistency and retention issues. It taught me the value of precision at every mechanical link in my setup.
- I realized that static buildup isn’t just a nuisance but a real enemy; addressing static through environmental adjustments and equipment upgrades drastically improved my grounds flow and dwell time, elevating shot quality beyond expectations.
- Discovering that routine calibration using dedicated tools isn’t just maintenance—it’s an investment in flavor fidelity. This simple step transformed my daily brew into a testament to the power of mechanical harmony.
My Go-To Resources for Espresso Excellence
- Expert Guides on Grinder Calibration: The step-by-step instructions at this guide have become my secret weapon for ensuring consistent particle sizes, preventing retention, and boosting flavor.
- High-Quality Cleaning Tablets: I personally rely on cleaning tablets from this source because they keep my grinder free of residual oils and static, ensuring every grind is fresh and clean.
- Calibration Software Updates: Staying current with firmware updates and calibration features allows me to fine-tune my super automatic machine for optimal extraction, batch after batch.
Let Your Passion Brew the Future
Sometimes, the key to extraordinary espresso lies in the small details—calibration, maintenance, understanding static. Don’t hesitate to experiment with your grinder, explore new tools, or read expert advice—your perfect cup awaits. Remember, mastering these nuances transforms your morning ritual into a journey of flavor and craftsmanship. How have you tackled retention issues or optimized your espresso setup? Share your experience below—your insights could be the breakthrough for fellow coffee lovers.
![Why Your 2026 Espresso Grinder Burrs Trap Fine Dust [3 Fixes]](https://superautomatic.espressotechguide.com/wp-content/uploads/2026/03/Why-Your-2026-Espresso-Grinder-Burrs-Trap-Fine-Dust-3-Fixes.jpeg)