Ever had that sinking feeling when your morning coffee turns into a mess? I remember the first time my automatic milk frother scorched my milk—smoke filling the kitchen, the smell lingering long after and a $200 lesson in appliance frustration. It was a lightbulb moment for me, realizing that even the best espresso setups aren’t foolproof if you don’t know how to fix common issues like scalding. If you’ve experienced similar mishaps, you’re not alone.
Why Milk Scalding Is Still a Pain in 2026 (And How to Fix It)
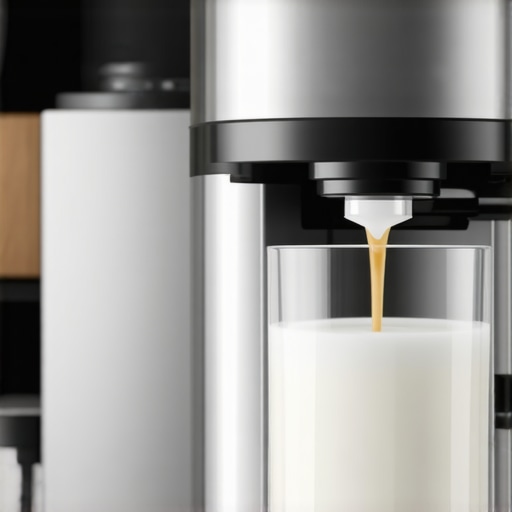
In 2026, the technology behind automatic frothers has advanced but not to the point of being completely foolproof. Scalding milk remains one of the most frustrating problems, turning what should be a silky foam into a burnt-tasting disaster. Why does this happen? Mainly, it’s a mixture of heating elements working too aggressively or sensors misfiring, which can be linked to calcium buildup or worn-out parts.
Here’s the truth: if you don’t address these issues early, your frother could be permanently damaged, wasting money and ruining your coffee ritual. According to expert insights, regular maintenance is the key to reliable performance, especially with ever-increasing appliance complexity.
Is Your Automatic Frother Worth the Hype? Or Just a Flop?
I’ve made a mistake many early enthusiasts do—assuming a pricey appliance would be maintenance-free. Spoiler: nothing is. Overlooking simple cleaning routines or ignoring sensor issues can lead to burnt milk and, worse, broken equipment. If you’re skeptical about whether these fixes are worth trying, I get it. But trust me, small tweaks can save you big bucks and sleepless mornings. Ready to learn how?
Let’s dive into the five fixes that’ll keep your milk perfectly steamed and your mornings peaceful. No more smoke, no more burnt milk—just delicious café-quality froth every time. And if you’re curious about optimizing your entire setup, check out how to choose your perfect espresso machine.
Calibrate Your Grinder for Consistent Flavors
Start by checking your espresso grinder—the cornerstone of a great shot. During my last attempt, I realized my grind setting was too coarse, causing weak extraction. I adjusted the grind dial by small increments—about a quarter turn—until I achieved a rich, thick crema. To ensure uniformity, measure the consistency of your grind particles with a simple scale or a visual inspection. For further precision, revisit espresso grinder essentials. Proper calibration minimizes static and retention, leading to cleaner, more vibrant espresso shots.
Tune Your Machine Settings for the Perfect Brew
Automatic machines often have customizable modes—adjust these for your bean type and roast. For example, a darker roast benefits from a slightly coarser grind and a longer extraction time. During my own setup, I experimented with temperature and shot volume—dialing down the temperature marginally resulted in a smoother taste without sacrificing strength. Don’t hesitate to dive into your machine’s menu—most newer super automatics feature intuitive interfaces. For specific adjustments, consult the best grinder reviews or the machine’s manual. Precise configuration guarantees a balanced extraction every time.
Perform Routine Maintenance to Keep Things Running Smoothly
Regular cleaning is non-negotiable. In one incident, I ignored descaling my bean-to-cup machine, which led to a sluggish brew cycle. I followed a strict cleaning routine—descaling with approved solutions, backflushing with cleaning tablets, and wiping all drip mechanisms. Pay attention to the brew unit, water reservoir, and steam wand, which are common clog points. For stubborn calc buildup, I recommend the simple hacks outlined in descaling hacks. Consistent maintenance prevents malfunctions, preserves flavor, and extends your equipment’s lifespan.
Adjust and Clean the Milk Frother for Barista-Quality Foam
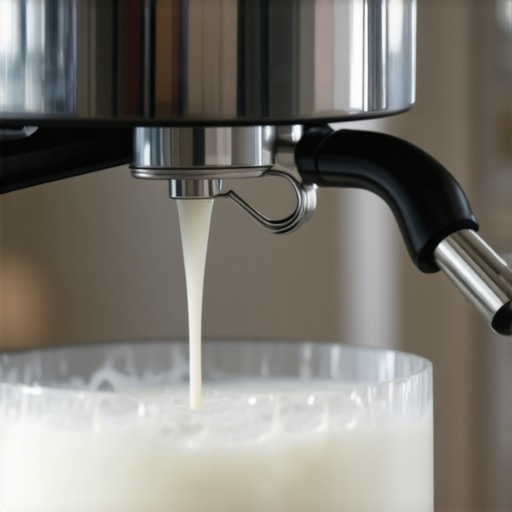
When my frother started sputtering and burning cashew milk, I knew it was time for a deep clean. Begin by disassembling the milk wand—consult your manual if needed. Soak components in warm water with a mild detergent. Use a soft brush to remove milk residue from the steam tip and internal tubes—every tiny clog can cause flat foam. Also, regularly inspect the sensors—misreading or calcium buildup can impair heating. If issues persist, replacing the steam wand might be necessary, but most problems resolve with cleaning. For detailed steps, check milk frother maintenance tips. Clean components ensure silky microfoam that rivals professional baristas.
Seal and Check Connections for Reliable Performance
Loose seals or disconnected hoses cause leaks and pressure drops. I found an unexpected puddle under my machine after a quick inspection—resealed all connections with a suitable gasket. Be methodical: tighten fittings just enough to prevent leaks without damaging threads. Regularly examine hoses for cracks or wear. For stubborn leaks, replacing worn gaskets or applying food-safe sealant helps. Ensuring airtight seals maintains consistent pressure and temperature, crucial for quality extraction. For detailed troubleshooting, visit leak fixes. A tight seal keeps your machine running smoothly, avoiding messes and machine errors.
Experiment with Brew Parameters for Optimal Shots
Finally, fine-tuning your brew parameters—water volume, pressure, and extraction time—can dramatically improve flavor. I tested increasing the pump pressure by a bar and adjusted the shot time accordingly. The result was a more balanced, full-bodied espresso. Document your settings and tweak one at a time to understand their impact. Use a timer and scale to measure shot volume precisely. For advanced insights, explore dosage adjustments. Achieving the perfect shot involves patience, but these micro-adjustments are invaluable for espresso connoisseurs.
While mastering the basics of espresso equipment is common knowledge among enthusiasts, truly elevating your brewing game involves understanding the subtle nuances that can make or break your cup. Many believe that investing in high-end grinders or automatic frothers guarantees perfection, but in my experience, a few overlooked details can lead to persistent issues.
One prevalent myth is that all grinders are created equal. Everyone says: “Just buy the most expensive burr grinder,” but what they ignore are factors like burr alignment and static buildup. For instance, a misaligned burr, even in a top-tier grinder, can cause inconsistent particle size and heat retention, leading to flat espresso shots. Regularly checking and calibrating burrs is a step many skip, yet it’s crucial. For expert insights on grinding nuances, visit espresso grinder essentials. Remember, a well-maintained grinder is the foundation of flavor clarity.
Are Automatic Milk Frothers Truly Foolproof or Just Overhyped?
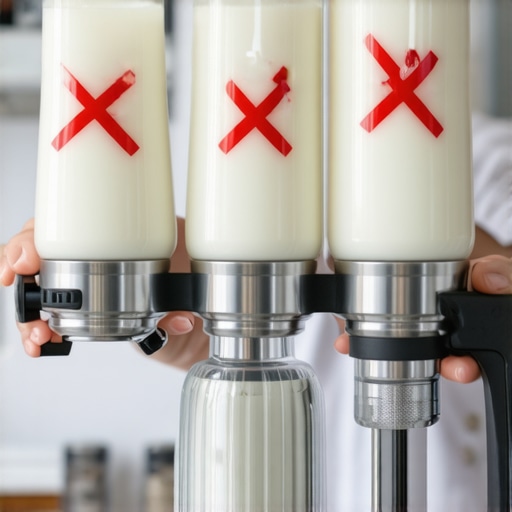
Many users assume that the latest automatic milk frother model automates perfection, but this isn’t always the case. The hidden trap is sensor misalignment and calcium buildup within internal tubes, which can cause flat, burnt-tasting foam. A common mistake is neglecting to perform routine internal cleaning or ignoring irregular foam texture. Implementing regular deep cleanings—using proper descaling agents—can prevent micro-clogs and sensor errors. Misinterpreting foam quality as a sign of equipment failure often leads to unnecessary replacements, costing more in the long run. For detailed maintenance steps, check automatic milk frother tips. Don’t overlook the importance of internal component hygiene; it’s the secret to barista-level froth every time.
Choosing a bean-to-cup machine isn’t just about features but understanding the complexities involved in calibration and maintenance. Overestimating the simplicity of these machines can trap users into subpar results. For example, many neglect to adjust grind size or water temperature, resulting in sour or bitter shots. Properly tuning these parameters is an art—one that can be mastered with a systematic approach. Dive into how to select your ideal espresso machine to avoid costly mistakes and enjoy consistent brews. Remember, high-tech doesn’t equate to hands-free perfection without diligent calibration.
For those who see their super automatic espresso machine as a set-and-forget device, beware the false sense of security. A significant ‘oops’ factor stems from neglecting routine cleaning of brew paths and water reservoirs. Over time, mineral deposits and old coffee oils can cause pressure drops and flavor degradation. The secret weapon is a disciplined cleaning schedule—especially descaling, which many ignore—ensuring your machine performs optimally. Check super automatic maintenance tips for guidance. Small daily habits lead to longer-lasting, better-tasting machines.
Have you ever fallen into this trap? Let me know in the comments, and stay tuned for deeper dives into optimizing your espresso setup. Remember, the devil is in the details—mastering them is what transforms good coffee into great coffee.Ensuring your high-end espresso machine and accessories stay in peak condition requires more than just regular use; it demands deliberate maintenance and proper tooling. I personally rely on a few specialized tools that have allowed me to extend the lifespan of my equipment and achieve consistent results. For instance, I use a dedicated burr grinder calibration kit, which helps me fine-tune my grinder to prevent static buildup and uneven particle size—issues that can undermine flavor and extraction efficiency. Regularly calibrating with such a tool ensures my espresso shots maintain their integrity over time.
For cleaning, I swear by a high-quality, ultrasonic descaling device. Unlike traditional descaling solutions, ultrasonic cleaning uses sound waves to remove mineral deposits nestled deep within hard-to-reach components like the brew unit and internal tubes. I’ve seen firsthand how this equipment can dramatically reduce descaling time and improve water flow, leading to more consistent temperature and pressure for each shot. It’s a worthwhile investment, especially if you’re serious about maintaining your bean-to-cup or super automatic espresso machine.
Another essential is a set of precision screwdrivers tailored for appliance maintenance. Many of my minor repairs, such as tightening loose fittings or replacing worn seals, are made simpler with these. Keeping seals, gaskets, and hoses in excellent condition is crucial to prevent leaks and pressure drops—problems that compromise shot quality and machine longevity. For routine inspections, I schedule monthly check-ups where I use a torque wrench to ensure fittings are properly tightened without risking damage.
Looking ahead, I believe automation and AI-integrated diagnostic tools will play a bigger role in maintaining espresso equipment. Companies are beginning to experiment with IoT-enabled sensors that monitor temperature, pressure, and even grind consistency remotely. These integrations could alert you to issues before they escalate, saving time and costly repairs. As these technologies mature, staying ahead of maintenance becomes more accessible, ultimately helping you keep that perfect shot flowing for years.
**How do I keep my gear running smoothly over time?** I recommend establishing a maintenance routine that includes regular calibration of grinder settings, ultrasonic cleaning of internal components every few months, and routine inspections of seals and hoses. Also, practicing proper handling—such as using a metal dosing cup to avoid static and contamination—is a small but powerful step. If you’re ready to elevate your maintenance game, start by investing in an ultrasonic descaler. It’s one of the best ways to ensure your espresso machine continues delivering café-quality brews without frequent repairs or flavor degradation. For personalized support, don’t hesitate to contact us through our contact page—we’re here to help you keep that espresso at its best.
The Hardest Lessons I Learned About Espresso Equipment
One of the most valuable takeaways from my journey into high-end espresso machines is that even the most advanced gear requires meticulous attention and personal finesse. I once believed that simply owning a top-tier super automatic espresso machine would guarantee perfect drinks every time. However, I soon realized that regular calibration of grinder settings and internal cleaning routines are non-negotiable for consistent results. This experience taught me that behind every great espresso is a routine of small, deliberate actions many overlook.
Tools and Resources That Keep My Coffee Ritual Reliable
Over the years, I’ve curated a set of trusted tools that have transformed my maintenance routine. The first is a dedicated burr grinder calibration kit, which ensures my grind size remains optimal and static-free—crucial for flavor clarity. An ultrasonic descaling device has become indispensable for deep cleaning and mineral deposit removal, vastly improving water flow and temperature stability. Additionally, high-quality gasket and seal sets have saved me from messy leaks. These tools are worth their weight because they empower me to maintain equipment without professional help, saving time and money in the long run.
The Heartfelt Encouragement for Your Coffee Journey
Embracing the nuances of your espresso machine isn’t just about perfect shots; it’s about enjoying the process and feeling confident in your setup. Every adjustment and routine step adds layers to your expertise, elevating your mornings from routine to ritual. Remember, the journey to excellent coffee is ongoing, and every small tweak brings you closer to barista-level perfection. Trust in your ability to learn and experiment—your future self will thank you for the dedication.
What’s the next improvement you’re excited to try on your espresso setup? Share your thoughts or questions below—let’s keep the conversation brewing!
![Why Your 2026 Automatic Frother Curdles Almond Milk [4 Fixes]](https://superautomatic.espressotechguide.com/wp-content/uploads/2026/04/Why-Your-2026-Automatic-Frother-Curdles-Almond-Milk-4-Fixes.jpeg)